Menu

Show posts

This section allows you to view all posts made by this member. Note that you can only see posts made in areas you currently have access to.

Show posts Menu

Topics - idrivejunk

#1
Rodder's Roundtable / '71 302 2V carb spacer for PCV?
December 07, 2023, 07:32:54 PM
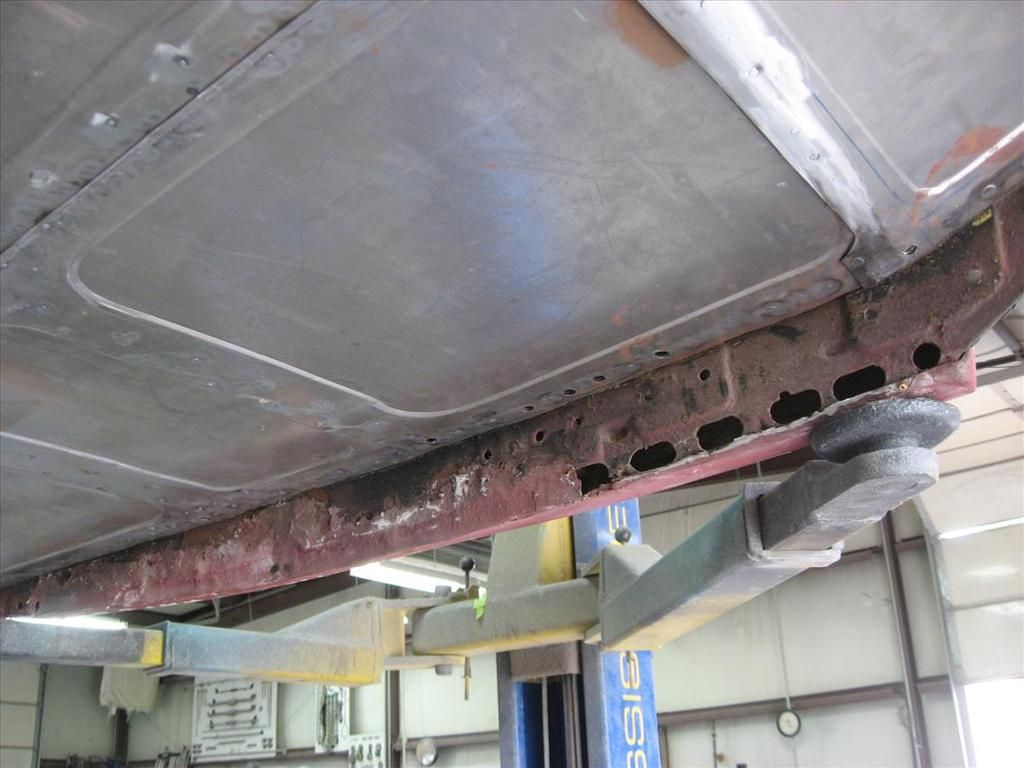
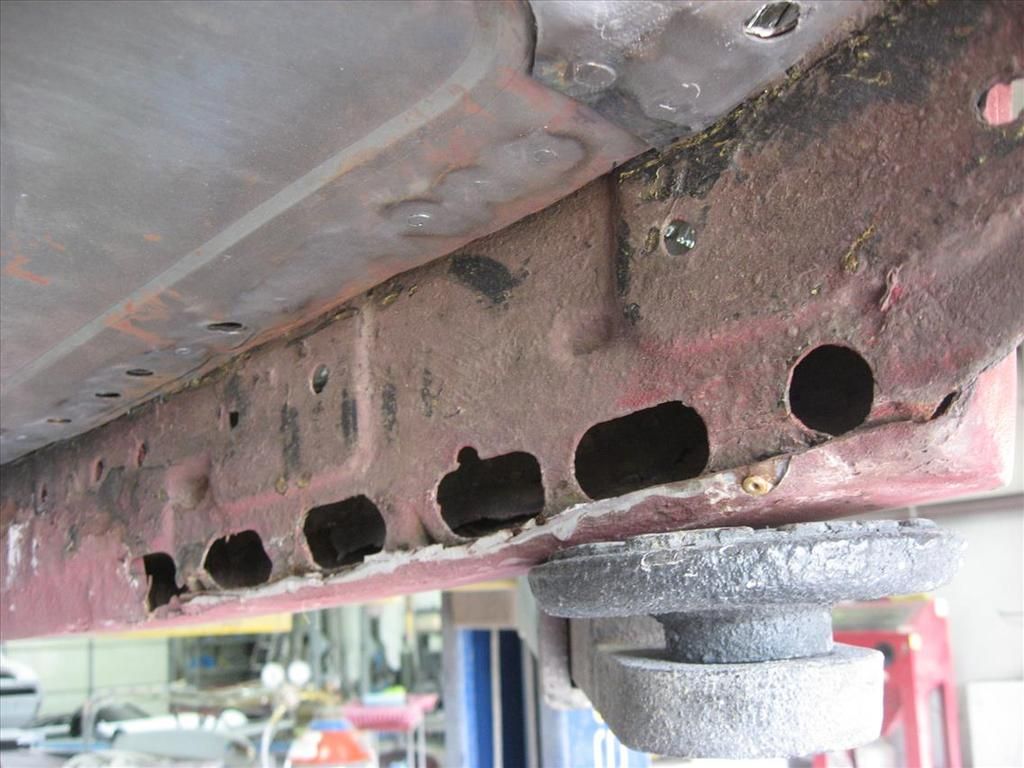
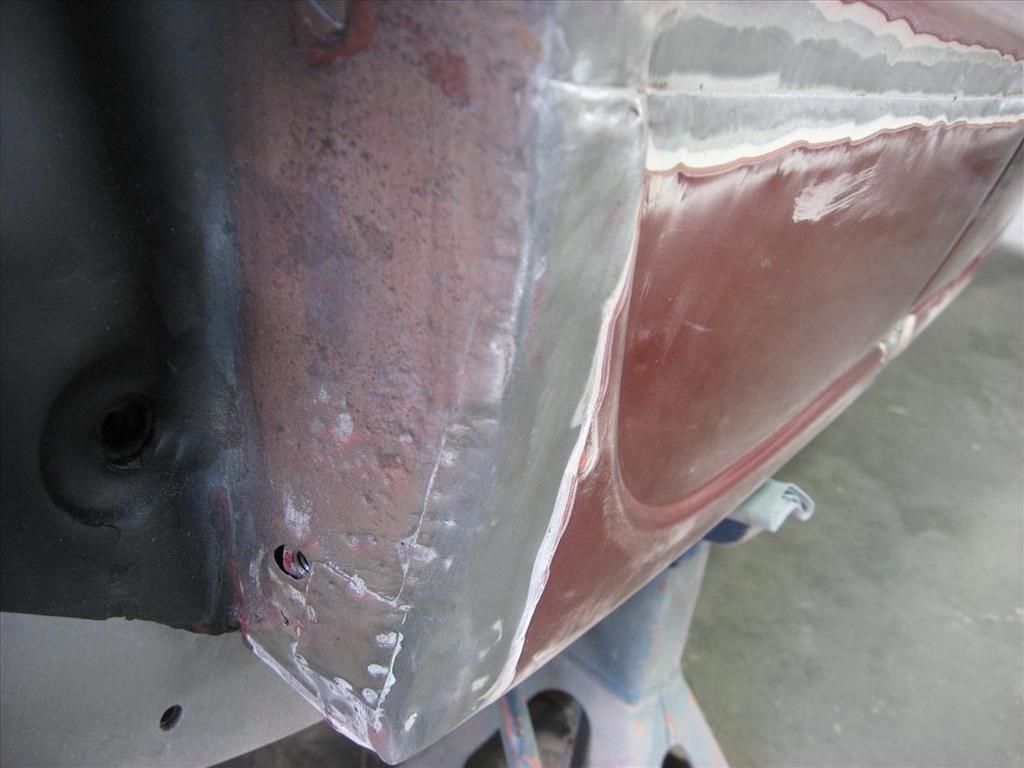
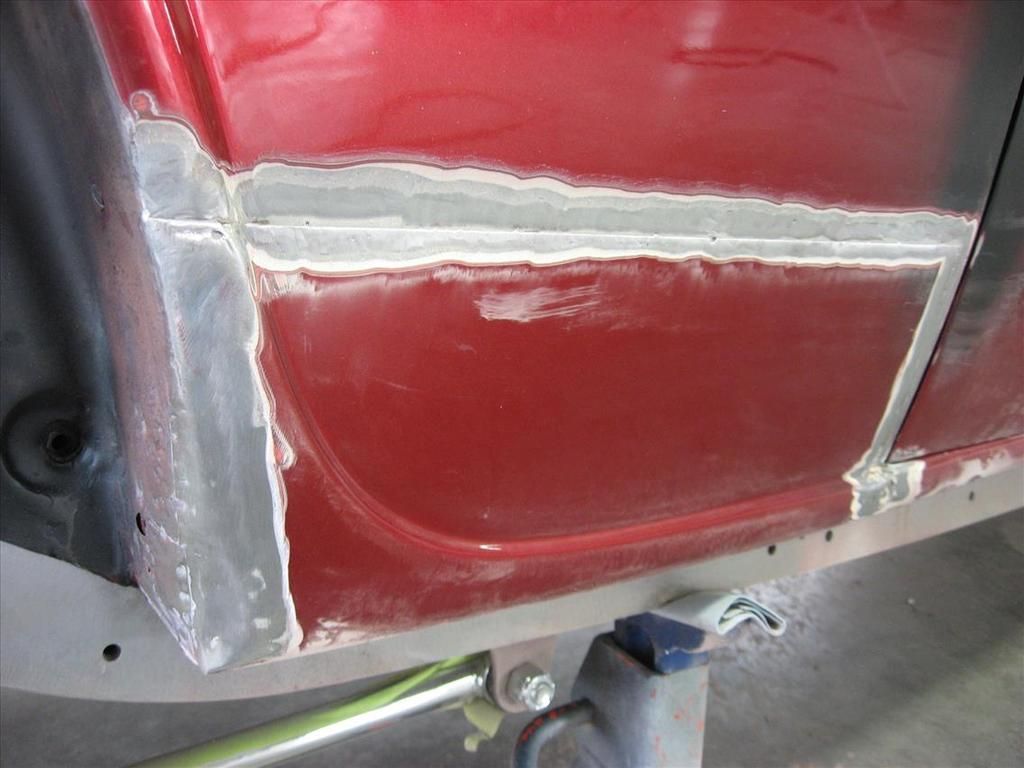
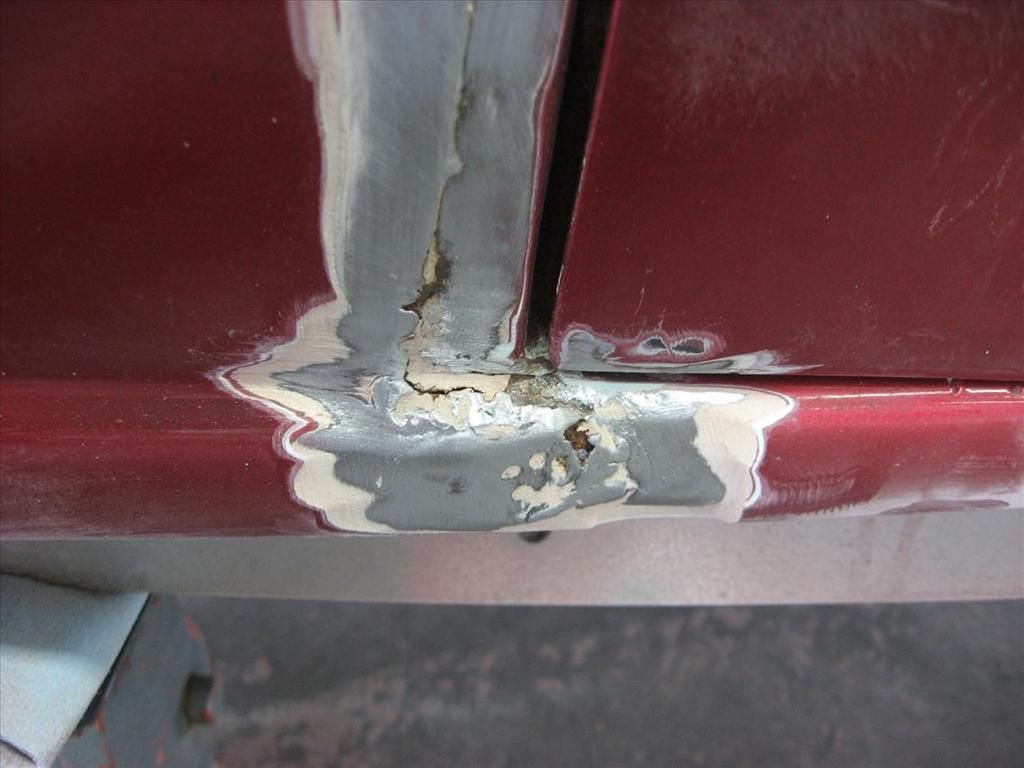
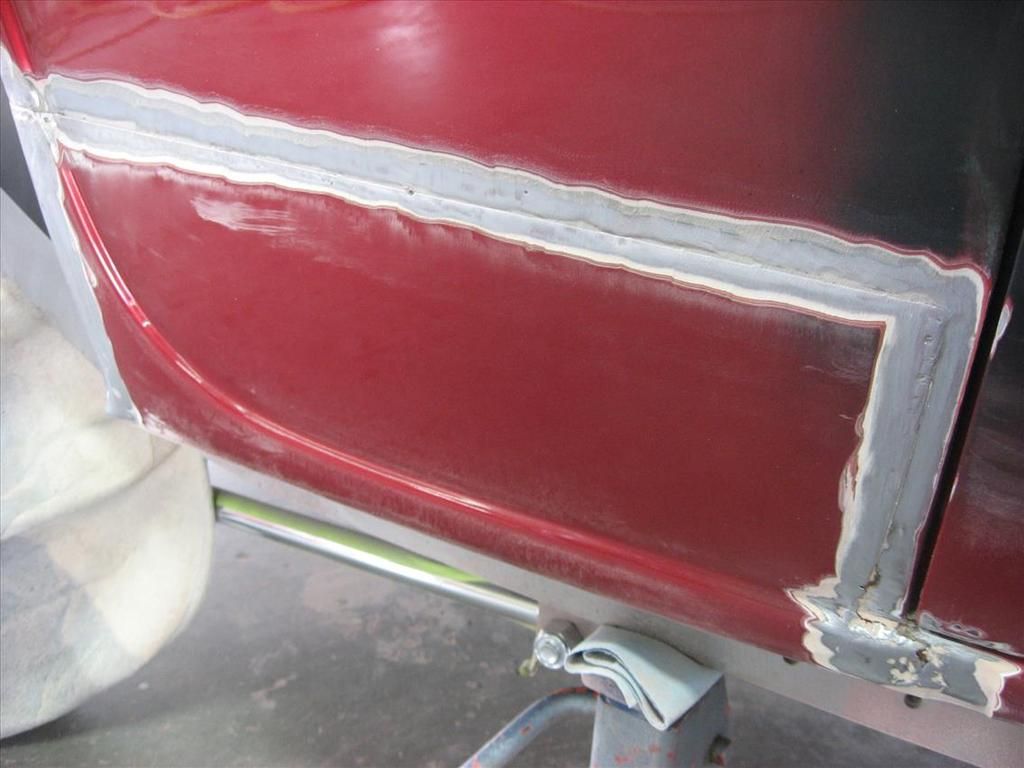
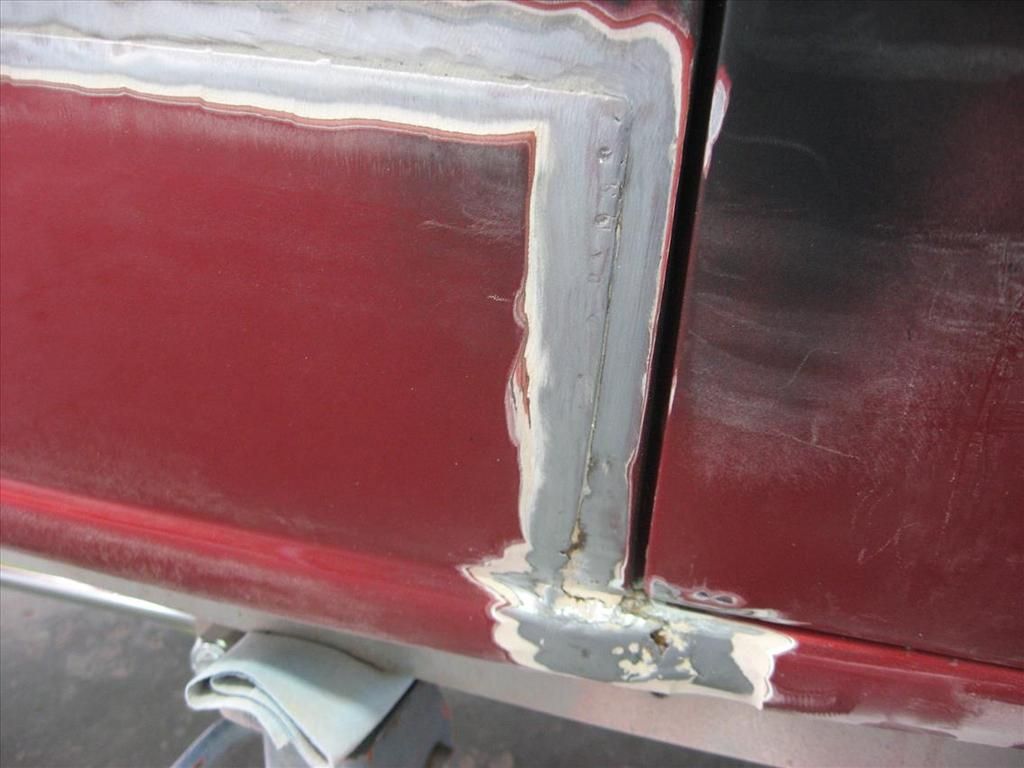
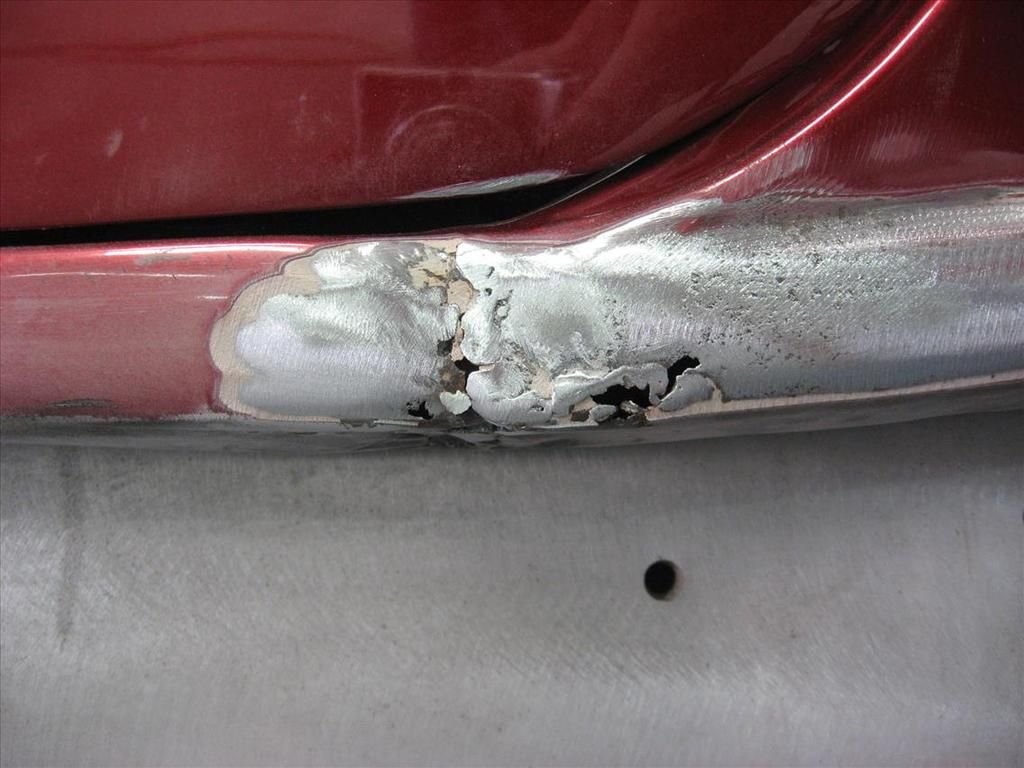
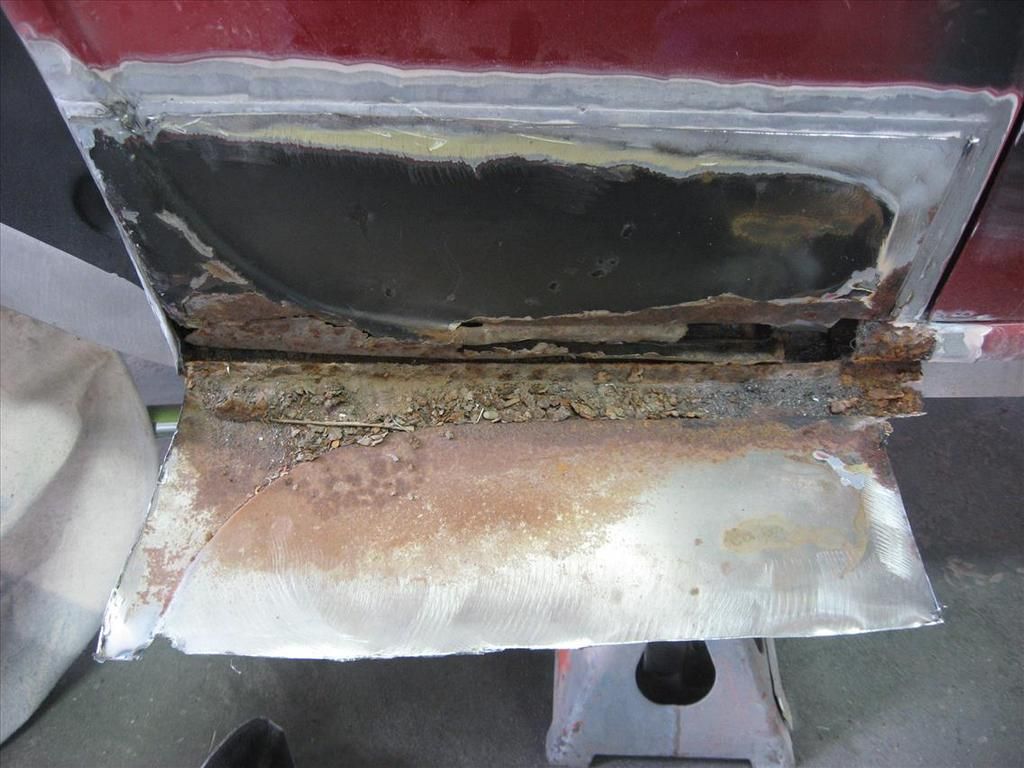
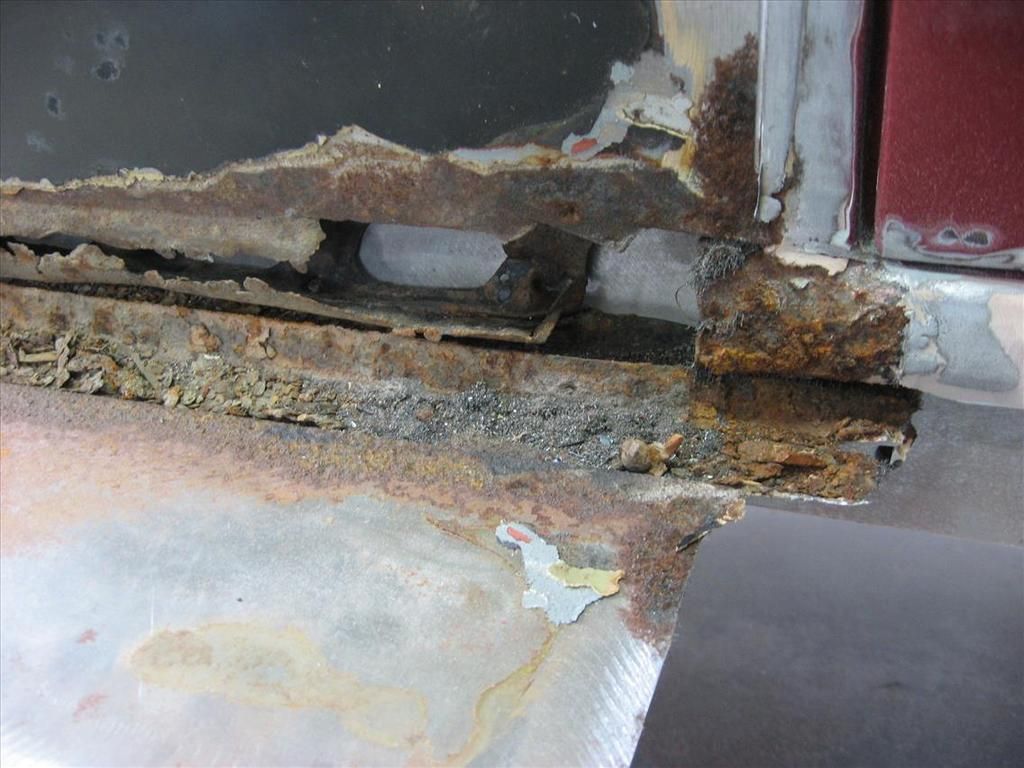
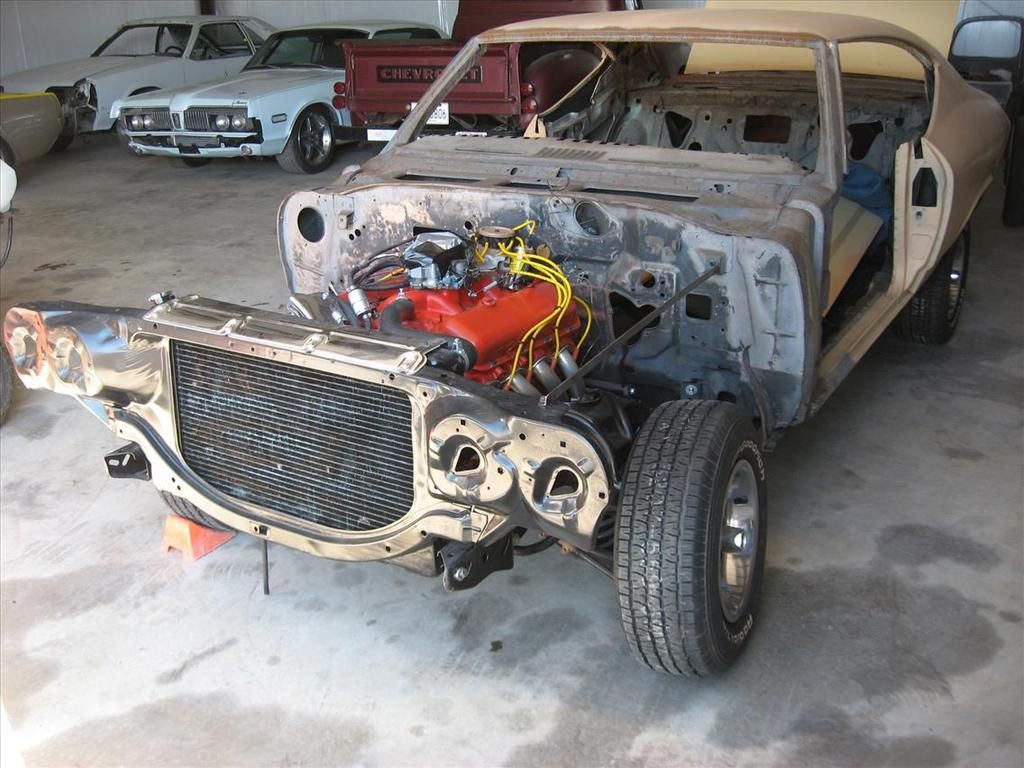
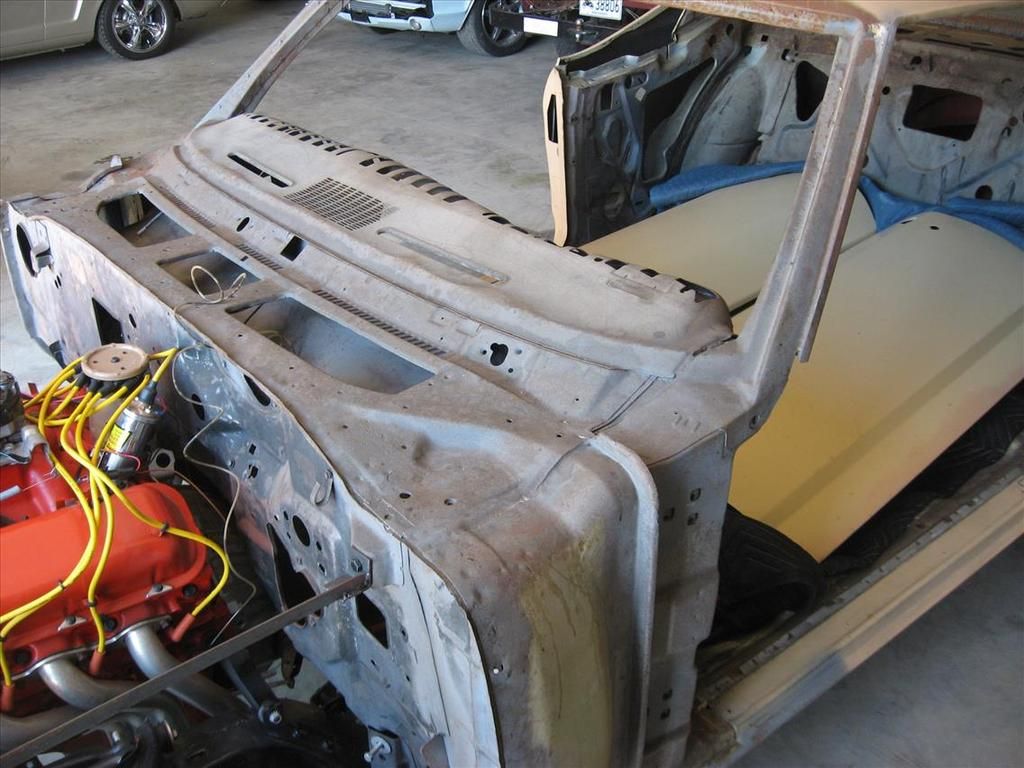
71 Bronco I am working on is stock. The body had some bad days in it's past, for example pan braces at toe board were crammed down over mounts and fenders had been replaced. I fixed that cab area stuff and after some challenges have good gaps going. On to the front end... New aprons are still in with screws pending final fitup.

Lowering the hood at rear to match fender height was the last thing in fitting new hood. Dangdest thing though...

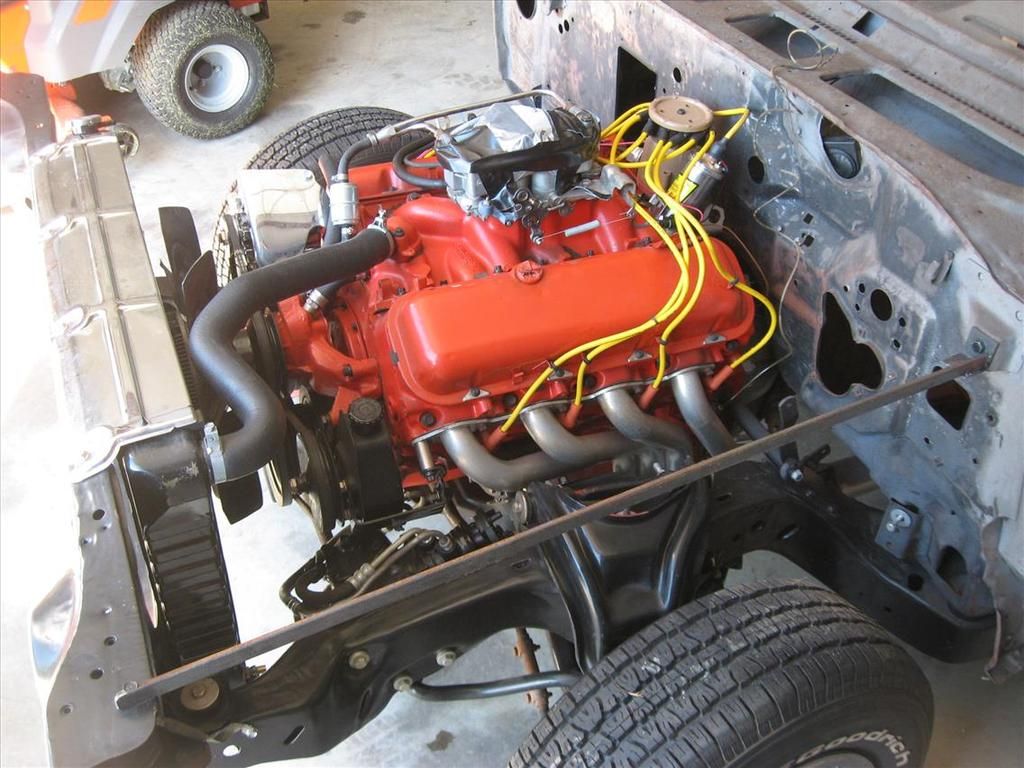
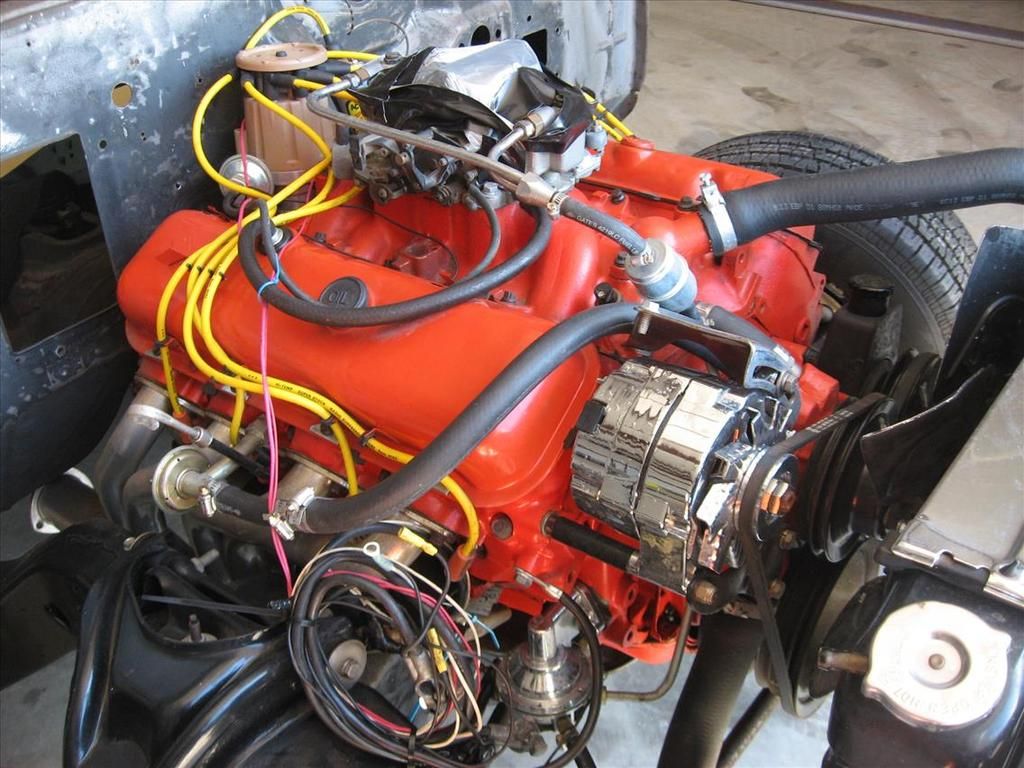
The carb stud hits hood bracing. It is only 1 3/4" long above the air horn. Low profile aftermarket chrome air cleaner (which also hits another hood brace) is on it with wing nut. Took the stud out, finalized hood but...

Upon further inspection, a 1"+ tall spacer (with a tiny wafer thin heat shield maybe, on top) is present. It has one hose only going to it, the PCV.

So... what am I looking at, is it an add-on or is the body messed up or??? Can anybody tell me if that is supposed to be there? "Looks factory" but I ain't looked real close. Would a 4V have had PCV on the throttle plate? Its not a Pontiac soooo...?

We've had to notch Bronco hood bracing before, and this one will be EFI on the 302 just not a Coyote which is wide but low. I need to know if I have stock clearance or not. Looks to me like the short open air filter was installed to compensate for loss of hood clearance from smashed pan braces. The frame appears to be undamaged in a brief X-ing with tram gauge.

Its always something, detective work required. I suspect none had much clearance originally.

Thanks in advance if you can even point me at the right rabbit hole. :arrow:
#2
At Thanksgiving I was handed a small stack of Army literature from smack dab in the thick of WWII. Smallest to largest:

Ordnance Noncom's Handbook (restricted) OS-95, June 1944.

Basic Field Manual. Infantry Drill Regulations FM 22-5, August 4, 1941 + FM 22-5*c3 (changes) September 10, 1943.

Ordnance Maintenance. Electrical Equipment (Delco-Remy) TM 9-1825A January 12, 1944.

Ordnance School Text. Handbook for Ordnance Officers, Vol #1. OS 9-55 vol 1 (restricted) March 1943.

The Officer's Guide, June 1944 edition (hard bound) includes a folded sheet marked Mil-6 that outlines honor and principles for the Ordnance Officer in training.

This one is my favorite so far. Large thin hard bound coffee table book with thousands of staff pictured shortly after V-J day. Sort of like a school yearbook:

Sketchbook. OR & DC, Aberdeen Proving Ground, MD.

A couple blurbs from that last one... we had a bomb wind tunnel that could do 1,300 mph and a 914mm mortar that would lob a 3,750 lb projectile about 9,400 yards. Dubbed "Little David" as in Goliath. To crack the Seigfried Line.


Any of that interesting? Maybe you can see if these are worth anything was the sentence when book stack was handed over. I am digging reading some of it.

Want to see? Whadda you got thats a noteworthy old book? I might have a couple old automotive books or comics also but am betting youse mugs are clinging onto some cool books too.
#3
Rodder's Roundtable / Is this tire ruined?
November 18, 2023, 09:47:22 AM
 :arrow:

Object goes quite a ways up the sidewall. It held air this week, sitting still. Patch or junk?
#4
Rodder's Roundtable / Displaying die cast trucks
July 03, 2023, 01:22:37 PM
My last uncle went into assisted living recently and a half dozen nice little collectible old trucks, mostly 36-56 Fords made it into my hands. Mom wants Dad to conjure a display case and my thought is to make a pole barn diorama to park them in, for simplicity and compactness.

But I need some ideas for materials. Or perhaps other approaches, maybe just a stretch of dirt road.

Theres a duplicate on the red 56 which was previously gifted to me that I figure it'd be safe for me to patina that one.

Thoughts, inputs? Anyone? I can put up pics but need to do chores first so figured I'd post for ideas before pursuing any one in particular. What would be cool? They look like brand new trucks. Wheels steer, doors and hoods open. Good detail, variety of colors and body shapes. Theres a lone Chevy among em.
#5
Rodder's Roundtable / critters
April 29, 2023, 10:44:08 PM
Thought I would write you guys a story, a mere chain of events spotted by human nature, and see if you guys had any to tell what with it being springtime and all. :)

So last Monday bright eyed and bushy tailed as I get, wearing all new clothes brand spankin fresh clean and everything...

High-tailing it headlong into an interesting project car to tear it down with reckless abandon, I find it to be one great big dung heap inside.

Ah yes, rat pellets galore with poison as garnish. Meadow muffins! The salt n pepper was ants in a headliner earmuff shaker I tell you what.

In a sanity preservation effort, I took the afternoon off to u-pull-it some parts for my noble mount of about 14 battered years now. The day before, I had filed a police report on the hit and run done a week ago now, that left my car unable to even roll. There were no critters encountered whilst writhing around like a madman under a junk car all afternoon but thats another story. Just before dark, in the street, I uprighted the suspension just enough to take a full size wheel and "drive" again.

Point being that I picked the wrong week to break in new clothes. Long about halfway through I ran out of laundry soap and them black knees are feces.

Loving the task, whizzing through with the right stuff... priceless because I dig the car. Spending a third of the time evacuating unprecedented rat turd heaps of epic proportion. Suggested maybe boss can charge extra, I've been sickened by poison pellets in one years ago. Then and now I winced my way through the job.

Finally overwith from the dash back on Friday, at quitting time the issue arises that a turkey defrosted and ready in work fridge was up for grabs due to a fryer capacity snafu. This was a 24.7 pound gobbler.

Mercy sakes alive. What to do? I text the world's best Mother ever. Mine.  ;D

Leaping to the rescue, in true Kansas wartime baby lady style, she cooked it right up delicious, promptly on delivery and promises the crew sandwiches Monday. Well I'll be. Bless her heart.

Jolted awake today, I hear a dog barking. Boooy howdy now theres a hot button and I groggily archived more evidence for future use. But I yelled like nutso in the house and dadgummit I have not been driven to that in some time. Been making good normality progress and flowing with the goers fluently enough of late.

Figured I'd get a shot at driveway alignment of my crooked wheel after the dog quieted down but then aw. Remembered I cut grass and trimmed bushes until and in rain yesterday after work but only got the front.

So out back I fire up the mower and go to get done. Right next to the old central ac outside unit theres a good long snake. Not moving.

This is the unit fried by a snake coiled on the capacitor terminals. About the same snake just a decade or two later.

I flick it onto patio with stick to identify and it is extremely lethargic. Not knowing if I broke it or need the hatchet or what, I just mow and glance each pass. Then leave it be on the patio and go out cruisin and to snag some chicken.

Chicken. How many critters are we at now? I've lost count. Yardbird was the only one I've et, leastwise so far.

Well anyhow I just looked up the snake. "It is an omen of good fortune", "Man's best friend"...

the noble Black Rat Snake. A constrictor probably constricting a bug and coming out of semi hibernation. Like a four footer. The modern world would have me publicly apologize for the displacement and make restitution in store bought mice for the next century. Then there'd be the civil suit. I just wanted to mow not sin and the stick under it was baseboard molding, not pointy.

Black rat, huh?  :lol:  Belly laugh. Just like my knees. And new shoes. Been so dirty this week I can't even think clean thoughts! :twisted:

Thems just a string of observational commentaries to fill your few minuteses. :)

Now howbout you share your varmint tails? :shock:
#6
Rodder's Roundtable / smooth running boards
December 02, 2022, 08:59:41 AM
Vehicles in question are a model A and an F1.

Smooth running boards I have used come with hat channels that have keyhole slots for carriage bolts to connect to frame brackets. They are not welded to the board.

All other techs believe those are to be welded to boards, I say not and believe that comes from the instructions on the first pair.


My take on it is the fenders hold the board in place and the brackets support it. Nobody has ever seen anything done that way.

What do you see / do / prefer / find logical / think sounds right?
#7
Rodder's Roundtable / Coolest mirrors for 50s trucks
September 04, 2021, 11:22:41 AM
Truck in question is a 51 F1 but same principle applies to Chevy. I would like to know which style works and / or looks best.
#8
Rodder's Roundtable / Dusty H.
July 31, 2021, 11:51:35 AM
Just wanted to make a meager li'l tribute here, to an ol' boy who through music, impacted my life early and ever since. I saw ZZ Top a few times in the 80s in the South and have always said if I were stranded alone on a desert island but could pick one band's music to have around... it would be them. When I was a senior (not citizen, but H.S.), I did a watercolor rendition of their Eliminator album cover which earned a big contest ribbon and hung at NSU for awhile. They are forever favorites of mine.

As a token of my respect and with due condolences to them who Dusty Hill may have held dear, I present this pic of my ride from Halloween of 1983. Note the pinstripes and legs. This is a little belated in posting but it's the first chance I've had to express my gratitude and percieved loss for all of us. Your thoughts are welcome.


I thank you, Tres Hombres. May he rest in peace. :arrow:
#9
I have two of the same car with the same issue.


Ever seen that before? I took the GT to a pro who asked me what sealant I had put in. I'd never uncapped the high side. He walked off and sprayed brake cleaner in the port and got the "black sealant" out and when I walked up two of them were staring at it puzzled. I looked in the port and see only smashed or broken brass, flat.

"Needs a line." and I and the car were dismissed.

Came home and uncapped the same port on the GTP. Switching to cartoon explanation now, just follow the numbered drawings-


Sentences followed by a question mark are my inquiries. :?:

Shown below are the low side schrader valve, the modified tool used to easily remove it, and the mysterious rubber piece from the GTP high side which can only be from a port cap.


I can depress the flat grey object visible in the port now, as though it is the pin in the valve. It is the same size as the hole above it with no space around it but if pushed down with pick, the pick slides off and the point gets caught between port wall and flat grey object by spring tension on the grey object. It can be pulled out though.

Thinking somehow the pin head must have magically mushroomed to a nail head when I picked out the rubber piece makes no sense. So I checked the low side valve core and see that is not possible and...

I better just stop writing. Theres no... It can't... They don't... All of them are... Why doesn't...

Yeah yeah rock auto shows all the lines cheap. But I can't even buy a valve core tool to fit the car, so why should I think...

Vehicle replacement seems the only road to conditioned air. I already went last year with no air and have a compressor bypass pulley on the GTP. And all I wanted was the low side valve replaced on the GT, then to charge it up. All I got is something no living soul has ever seen the likes of, it seems. No help, no matter, no dice. Everything gigantic and critical always gets crippled by things too small to see or grasp and thats something I can't deal with. If anyone can make sense of what happened, I'd be grateful if they was to explain it to me.

Thanks and sorry. Whichever applies. :)
#10
I wish to learn how each of you who is comfortable doing so would accomplish these basic 3D tasks, and ask that you outline your procedure fully.

No electricity may be used and no level parking surface or wheels / tires are available. Gravel driveway scenario but its a nice day.
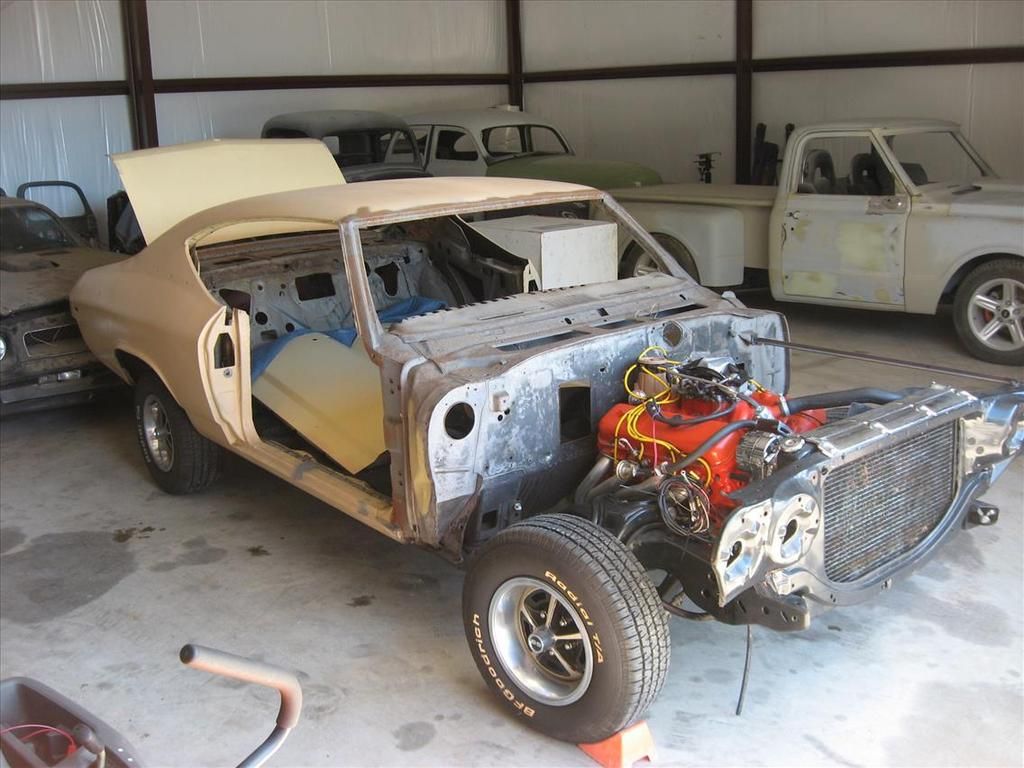
Chassis origin is unknown but can be assumed undamaged and is made for the vehicle.
Are you ready? Thanks in advance.

I will use current "high-end" customer projects as examples but will not reveal my slipshod personal methods unless called for if-ter responses are given.

Just tell me how you would do it in your hobby shop, to your heart's satisfaction, but with no lasers allowed.

Like a math problem but the answers are how you determine final position of components. I want to know how it's done, educate me please..


1930 Ford coupe:

Install frenched 4" round, OE type "duolamp" tail lights in rear fenders.

About a 60/40 split describes how much lamp sticks up out of the fender and factory cut back edge of lamp bezel butts to fender hole edge.

Where the bezel overlaps the lamp housing. So the top half or more of the bezel is fully visible but the housing is completely hidden.

Please include both sides in your procedure.


1951 Ford pickup:

Same driveway and chassis scenario but not one bolt hole exists yet. Get everything in position to bolt together.

Each fender has a horizontal character line. Rears curve down behind the axle slightly. Where front fenders meet their extensions, the line is a gap but no matter. All points along that line, ahead of rear axle, must match perfectly front to rear as well as the rest of the body and lie parallel to frame.

Cab rear height on this OE design was originally controlled by a nonadjustable shackle and bushing arrangement which allows cab to sway.

Position all body parts correctly and assure fender lines follow each other and that all horizontals are parallel to chassis.


Hoping you will see fit to provide your take on such things, and that multiple individuals participate with different approaches, and that I have not made the parameters overly complex. Pick one or both "problems" and go to the chalkboard if you will. In quest of no bad angles. Writing "Eyeball!" would not be much help, for example. I see that as a fine tuning or checking method, mostly.

Much obliged. (tips hat)
#11
I walk past ye olde and wrong reducer selector each time I use the garaged car and yesterday although it was near freezing in there I noticed something that made me stop, look, think, take pic for here now and carry on...

Theres a thinner recommended for use at 35°F. :shock:

#12
Rodder's Roundtable / trapped with stinkers
August 25, 2020, 09:00:21 AM
How have you men successfully "handled" coworkers with sickeningly intense body odor? I have spent too many years of career next to individuals like that. In this case I like the person and need them around. They say they can't wear deodorant and show up on Mondays with putrid crotch funk that curls your nose hair plus pit stench that would peel wallpaper. Obviously not bathed daily. Sit down tub bath maybe as often as twice a week near as I can tell. And NO one else seems to be offended by it. Its a problem for me, makes me want to vomit. I am supposed to coach this person and have to go stand a few feet from them daily. I have only known one other individual who could gag a maggot from across the shop and like now, enough years of it have me ready to draw a line in the sand. But distancing is not enough. Walking into the bathroom to wash up minutes after this person is like sticking your head in his armpit.

Am I the problem? Often, men or women pass through that are so heavily perfumed that I feel a need for fresh air after all they did was pass through the room, yards away.

The horrible smell * me off daily. I need a solution nobody can do anything to counter. Direct talk doesn't change anything. I have not resorted to shaming but maybe I should let some mean out and make a scene so everyone hears it.

Do I tell the boss its him or me gots to go? Do I smash the guys feelings to bits disgracing him publicly? Finance a shower stall for his home? It seriously makes me want to puke daily and swallowing that plus the urge to let him know it makes me angry and that is something no one should have to just live with. So if you have dealt with one successfully, please tell me what worked. Its a silly reason to quit but a serious problem to me.

Sorry about the crummy topic. I need strength to change what I can no longer accept so I turn to the best most tactful life advisors I know. RRT dudes. There has to be something I haven't thought of. :?
#13
Rodder's Roundtable / trans Q
June 14, 2020, 08:48:41 AM
Got my 99 Pontiac Grand Prix GTP back from a transmission rebuild Thursday. Now, in light uphill scenarios at steady throttle, it "hunts". Seems like the converter is locking and unlocking constantly in that situation, which is I believe in third. 30-45 MPH. Right where 95% of usage is.

4T65E-HD trans, supercharged 3800 V6. Stock.

The question is before I take it back, can a faulty MAF or other problem cause it to hunt?

Initially, it would shudder and give a short rumble strip feeling after a couple up and downs of about 100 RPM. Replaced battery, plugs, wires, coils. Now it doesn't do the lug and stumble thing but the issue is obvious and constant.

I am supposed to return to trans shop next Friday for a visual fluid leak and level check for warranty purposes.

Do I drop it off today (have to walk 3 mi) so its on their doorstep Monday with "bad converter" noted? It just got a new converter.

Anyone care to confuse me further, debunk, or clarify? I am lost. If there was a carb and distributor I'd already be sure. Dad solved this crap on his Citation by putting TC lockup on a switch under the dash.

:?
#14
Rodder's Roundtable / Dare to build this!
April 19, 2020, 01:47:32 PM
Last weekend I had an inclination to draw. But what? As always. :roll:

Scribbled up a rod with minimal curves, just thinking of an easy to build and proportionally adjustable, nonrepresentational, cab. Kinda had a hook shape in mind for some places. Anyhow, got bored and tossed it aside-


Today I ironed out a side view a little more. Figure a guy could make those side panels mainly with a brake and roller since its all just flat and angles and could plug weld together as like five piece unisides. Connected by flat middle panels at whatever width he wants want the body.


Just a brain fart to polarize the collective  :lol:
#15
Got the install kit for bear claws in the 51 Ford truck today, looked at instructions and doors.

Probably will use power to actuate latches, and as with many old cars and trucks the window channel is right where the latch goes in what I call traditional arrangement. Latches in doors.

I believe while I am there, I can use that normal setup by reshaping jamb contours both sides.

I am aware it is not uncommon to use striker pin on door setup, and it is mentioned in the kit under "if you are using power, you may want to..."

My question is:

Personally, what do you like to see? I think pin on door latch on pillar is smart but looks wrong. But folks it might matter to know.

Your thoughts please if you have them. :)

Does it rip your coat or anything like that more one way or the other, etc?

:?:  Thank you. 8)
#16
Wanting to make a digital rendering and while I can use license plates for a size reference, I would like something more accurate. Don't know of one I can go look at. Got one? No rush and no big deal, just thought I might get lucky. Its the two ovals with square backup light between and chrome all around. Outer oval section on quarter, reverse and inner oval on trunk lid.

If you also know if both ovals are lit, ( inner might just be reflector?) that would also be helpful. Thanks
#17
Rodder's Roundtable / '51 F-1 job
February 28, 2020, 10:44:44 PM
Started on a new job up at work.


Along with the truck came two crates. One with a supercharged Coyote engine and auto trans, another with a Roadster Shop chassis. The former still being stashed at this time, the latter being shown below after Dave unpacking, inspecting, and chunking some IROC wheels on it as rollers. In this photo, I was in the process of removing surface rust and treating to prevent more-


I sat the body on the frame today. It is just sitting loosely, not aligned and with some wood blocks shimming up the back of the cab.


My primary objective now is to find the labor unknowns, suggest replacement panels and get to it.

In conversation with the customer last week, he shared three custom ideas. Modified hood side vent trim then a couple Fairlane items: '55 instrument cluster, 58 tail lights. Maybe. Several renderings have been done by Pfaff Designs to explore options and currently grey is the color pick. Aside from these tidbits, I am green as you about it. But I spotted numerous prior repair adventures today.
#18
Forgive me gents but I am going to cut and paste my words here, as written for another forum. Already got one idea I didn't have but the more the merrier and some of you guys certainly have the counsel I seek. Thanks...


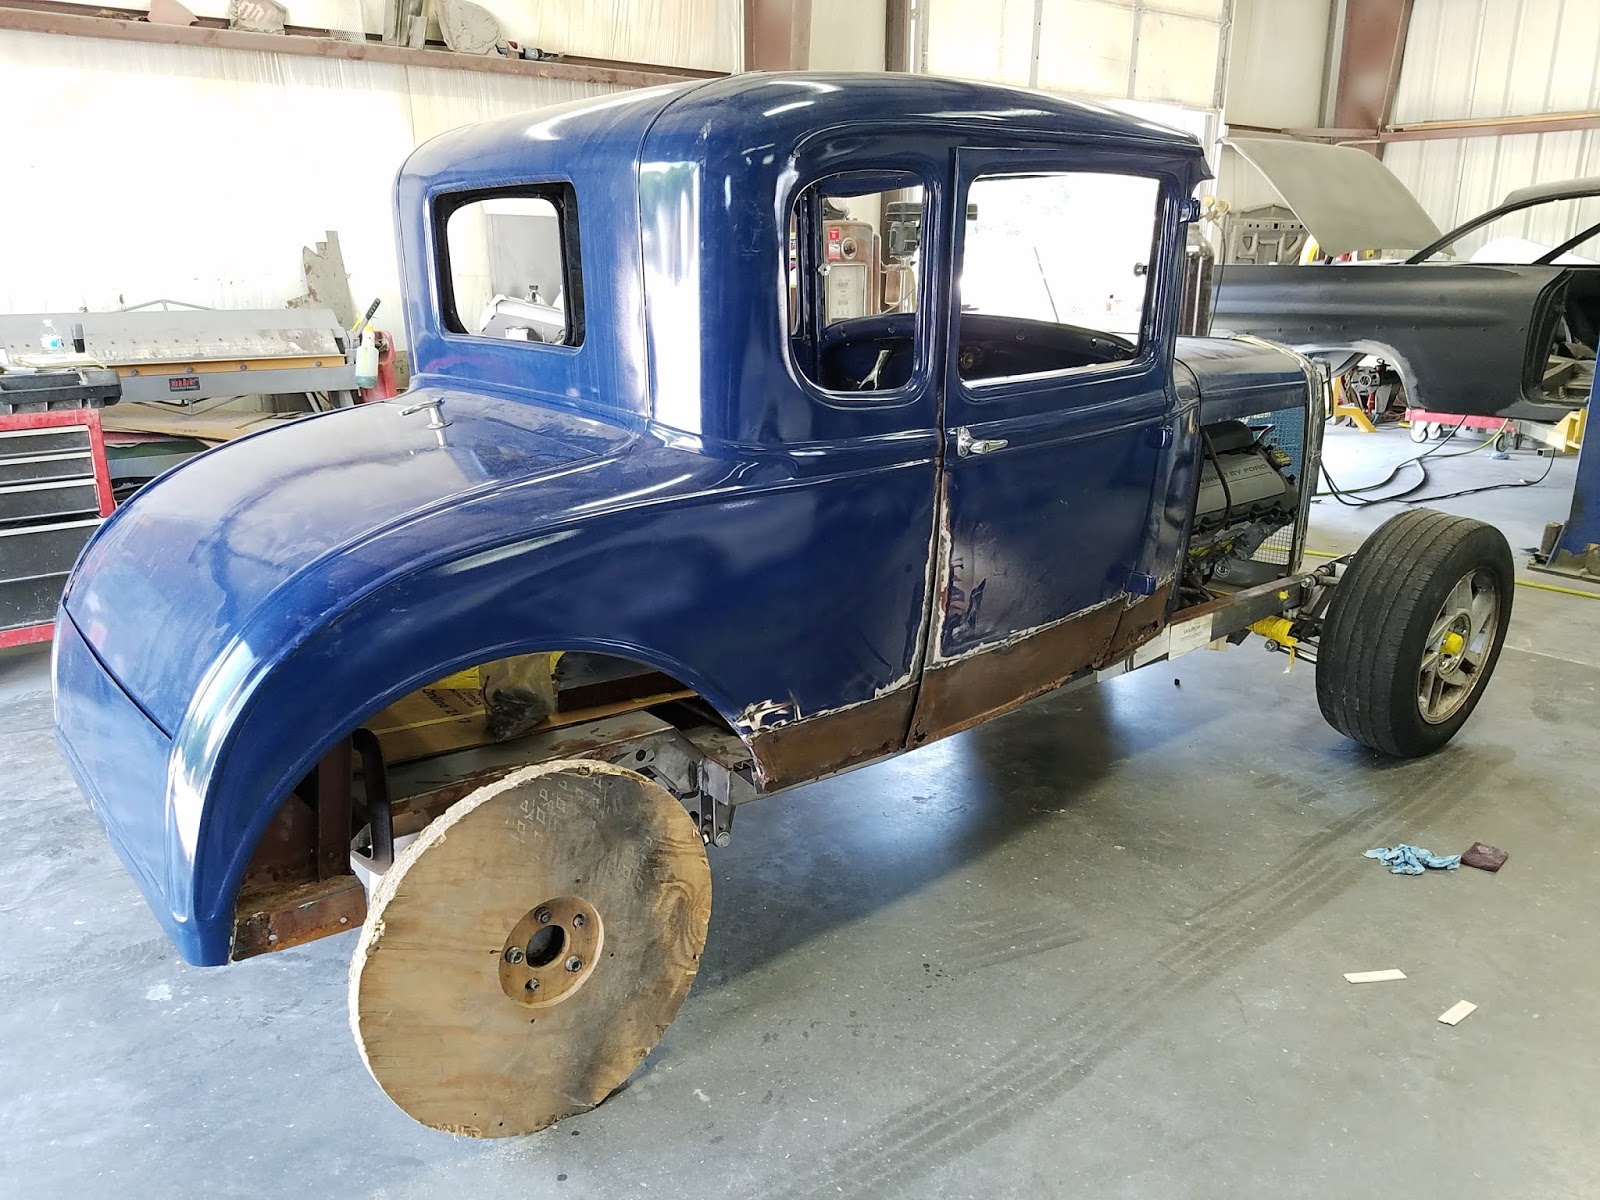
A 1930 Model A coupe with reinforced, unitized body over tubular aftermarket chassis with near-stock modern 400 HP EFI / OD V8 automatic... is the subject here. Not mine, its a customer project at my job. Here is my idea / question:

Stock Model As have the body bolted directly to frame rails and a thin strip of padding is used between them. As for this custom built body and TCI frame...

Frame comes with rivnuts. Those are threaded inserts which are drawn tight with a threaded stud on a setting tool which is similar to a hand riveter. On top of the frame rails. They proved far too delicate to even make it past initial body fitting. If a bolt is bumped on one side, it tilts in the insert which will then spin in the hole on the tubular frame rails.

They can be replaced easy enough but I cannot imagine the body staying on the frame during a barrel roll. Extremely wide, soft, and low profile rear tires, tall vehicle profile, weight of added body structure, and occasional drag racing contribute to that concern. I know how easily that rollover scenario can occur, even just feathering throttle out of a burnout too abruptly. I can't see 8 or 10 3/8" rivnuts doing the job.

I can remove the nutserts (whatever ya wanna call those) and replace them. Option A.

Option B: Weld tabbed nuts to top of rails, the ones made with little wings to weld to.

Option C: Enlarge holes, sink a plain nut in the rail and weld it all around.

Option D: Plates with nuts welded fully to them, over the enlarged rivnut holes and secured with plug welds to top of rail.


None of those options offer sufficiently positive retention of the body for me, but this is my first rodeo constructing a prewar checkbook rod and I come from a collision repair background. Just a couple dozen weld dots or eight rivet thingys does not seem safe, all that can rip out or off in an impact due to inertia.

I want the body to sit about 5/16" above the frame and be attached with normal body mount cushions on stands welded to the sides of the rails. I think that satisfies my durability concern and as a bonus should improve ride and comfort from a noise, vibration, and harshness standpoint. Option E. Can sketch it if the idea is unclear.

Notes for guys familiar with Model As:

Aprons attach to floor rails now and do not extend over the frame rail like stock.

Front fender brackets would be attached normally but with a 5/16" thick bushing added on top.

I believe rad /grille will move up that far although 5/16" spacers rather than bushings would be appropriate.

In the current configuration, I figure if for example you tried to lift the car by the body, the inserts would rip right out of the rail tops. With normal plain big-thick-washered and rubber cushioned metal sleeved body mounts on stands welded to rail sides, it is my opinion that much more hairy wadded-up-car nightmares could be walked away from using Option E as opposed to taking flight in a jettisoned pod as is my fear with Options A through D.

Am I overkilling in thinking this? Which option would you prefer and do you have an Option F?

Thanks for the read, and in advance for the benefit of your experiences.

This is the chassis in question and I know you know I know you know what the body looks like. :lol:  :wink:  :arrow:

#19
Rodder's Roundtable / A/C clutch removal
September 06, 2019, 08:08:05 AM
99 Pontiac. I plan to replace the A/C hub / pulley / clutch with salvage parts off the 02 I had. I was able to jam a wrench between subframe and a flat on an edge of the clutch to get the party started on the mounted compressor but...

How do I hold the clutch still off the car? On the salvage compressor. So I can remove the nut then use the clutch removal tool.

By the way, the tip of the remover was pretty much obliterated when taking the old unit apart. That seems odd. A great deal of force was required to pull the clutch.
#20
Rodder's Roundtable / oil for the 455
July 14, 2019, 09:35:54 AM
VR-1 30W has become a special order item in this town so I can't use it anymore. One place in town carries Lucas break in additive.

Can I use the same Valvoline high mileage 10-30 that use in the 3800s with Lucas zddp?

Or should I find something straight 30W?

This is probably the last V8 I will ever get to have and it has wear so no mistakes are allowed. So I ask first.
#21
Rodder's Roundtable / glass tool
June 01, 2019, 11:51:00 AM
I am not having any luck imagining a search term for the tool used on these nuts which retain the glass on a window regulator. Can you assist?


P.S. I am aware that the tool can be made using some thick metal and machine screws. Thanks.
#22
Rodder's Roundtable / Pantera job
May 28, 2019, 07:31:24 PM


#23
Rodder's Roundtable / Fender Bobbins
March 31, 2019, 04:07:58 PM
No, Fender Bobbins is not a fictitious character  :lol:

On my '31 Ford coupe project at work, the car owner is interested in bobbing the rear fenders. I agree that shortening them some would improve looks, especially with no tank, bumper, or spare tire back there. He wants them straight across, even with the body. My instinct wants to let them hang down an inch or two. But style is not my current concern, this comes before that.

A co-worker recently told of lopping an ugly flip-up off a motorcycle fender end and being sorry he did.

Theres the context, heres the question:

Does anyone have experience that might help guide us, based on road use of shortened fenders? :?:

 My concern is for-

A: The car behind. This thing will wear steamroller meats and you know how it is with a street rod traveling among other street rods and trying to maintain your grouping... keeping tight formation.

B: The paint job. It almost looks like small stones could end up thrown onto the trunk if we bob 'em flat.

Whats your take? Educated speculation accepted, wisdom appreciated. Thanx
#24
Rodder's Roundtable / Visors at speed
February 23, 2019, 01:17:48 PM
Most of you are probably aware of the 3/2" chopped 1930 Model A coupe bodywork job I am working on, and that it will use a ribbed metal roof insert.

It is planned as having the windshield visor welded on all the way across the rear edge. A bedded windshield will be used.

My concern is at what speed would /could air flow exert potentially damaging force on the visor? :?:

If what we've planned is good for a 150 MPH burst, I'm certain it will live. But a couple days at 80 MPH?

I have zero experience with visors. Ventilation seems logical. I got the idea to mount it like a close-fitting wing mounted on pedestals, maybe 3.

Is this or isn't it, something to be concerned about? Everyone please share any relevant thoughts or experiences.

Thanks, gents.  8)
#25
Rodder's Roundtable / Dazzlers
November 24, 2018, 07:19:29 PM
Which look appeals to you more? Not a terribly serious question but my vestigal inner hobbyist is drawn to the Hurst wheels. Spoke faces are black, almost shiny. Just the lowering would be a looks update but with these in 17" and raked stance does it look too millenial-esque?

:?:  Thumb up or down? Reasons welcomed.:)

#26
Rodder's Roundtable / Chop question
September 21, 2018, 08:16:10 AM
Would you chop a Model A coupe before installing ribbed prefabricated metal roof insert or after?
#27
Did a 1930 Ford five window coupe body use any kind of mounting shims or pads? If yes, can you describe what and where?

Thanks  :)
#28
Rodder's Roundtable / Model A job
July 25, 2018, 08:54:51 PM
What do you guys think of my new project? I think its a '30. Customer wants rumble seat. Thats about all I know... "needs work"  :lol:


#29
Looks like I need to switch my 69 Pontiac to a 72 style pump to fix an intermittent and unfindable by me leak. Here are brands in stock at local places for 20-40 bucks. I seek guidance. What do you get? Thanks

Precision

Carquest

Delphi

Spectra

Napa
#30
Rodder's Roundtable / mowing questions
May 25, 2018, 10:13:09 AM
Lets talk about mowing. Curious where other men set their preferred deck height.

Do you prefer putting green, fairway, or rough... in front of your place?

:?:


(any other yard work talk is also welcome. Share a mowing adventure if you like.)  :)
#31
Rodder's Roundtable / 51 Ford
May 01, 2018, 01:17:07 PM
The nice couple who just picked up her 60 Biscayne dropped off his truck for another cool build-

#32
Rodder's Roundtable / IDJ 455
April 08, 2018, 01:31:08 PM
My hydraulic flat tappet cam and lifters are not in perfect condition, I would like to replace them.

They are aftermarket and the Pontiac 455 is an older rebuild that runs fine with (guessing) 25,000 miles. I've driven it nine years.

Is healthy oil pressure a sufficient indicator of rod and main bearing condition that I may do so without visual inspection of those?

If so, what is "healthy"?


Thanks in advance :)
#33
Rodder's Roundtable / Oh no he didn't!
April 05, 2018, 09:44:34 PM
Well, yes he did. My friend turbo'ed his junk.

In his words, he wanted to "take from me" the honor of quickest daily driver among our fellow employees, "because he can". :roll:

So there ya go, four hundred horse six speed ricer. Rubbing my nose in the number like a bad dog on a dark spot on the carpet. Daily.

Trouble is... he is gunnin' fer the purple car. I rode in the little POS and its a rocket. So whats a poor ole boy like me to do? I got better stuff laying around but nothing that affects going fast much if any. I understand that the competitive spirit and singling me out is high flattery but he is whipping a dead horse.

Can't let America fade into the background without a fight here, can I? :?:  :evil:  Brush it off and keep cruisin'? :? Enduring taunts gets me nervy. I would need some top notch advice to soup up the 455 but man theres a lot to lose if I screw up. Then theres the tired GTP that keeps on like a zombie.

Mischevious commentary welcomed  :D  

#34
Rodder's Roundtable / Nova Camino?
February 03, 2018, 11:38:40 AM
I found myself mentioning my ex-ride in a conversation and this idea popped up so I quick and dirtily edited a couple pics to satisfy my curiosity. Hmm. I think these kinda stubby looking "concept" "pickups" have potential. The roof to bed transition would of course be tricky but by not changing proportions on sections I swapped around, I am able to have some idea of the how-to. The Nova roof angle almost works as is but of course you gotta stand the back glass up and tunnel it. The door glass frame is from 68-72 el Camino, and the angles at the roof to bed transition are roughly borrowed from that. The door glass frame would need to be shortened a little on each end, and the movable glass might require trimming at front. Using the upper half of a camino door weatherstrip seems to follow. I did not explore doing it hardtop style. But I thought you might enjoy, or go build one.

I searched the web briefly and found no 68-73 X-body el Camino attempts at all, only older Chevy IIs. How do you think it looks? I mean if you hate el Caminos altogether, I respect that. The lines seem to work out happily from the side. Just an imagination fart.

The white one is from a web pic grab and is a Nova. The one in Mystic Teal (WA-119B) is my old 71 Ventura II Sprint. I put the shaker and GTO hood on it with cheap steelies, then traded it in the deal that got me my current purple car. Then it got the cowl hood, CalTracs, and Torq-Thrust IIs. Its still around. But would it be cool with a bed?


#35
... what do you do?

New lenses for the car I'm doing are not readily available and I have this thought-

Noticed that, unlike anything else I can think of, the 97-03 Grand Prix tail lamps are composed of a very plain rectangular red lens with a backup light square in one corner but they use a complex, contoured, clear outer cover. The black plastic housing of the lamp is a very complex shape also. The clear plastic outer cover is actually inches away from the red lens, and the back side of the clear cover has a blackout grid stuck to it that is slotted and gives the light output it's character. Y'know, Pontiac-y slits like 60s GTO and GP, or 2nd gen Firebird.

So I was thinking that if a guy was to create a plain flat clear lens to fit any obsolete bezel, he could mount any new tail light lens behind that and it must not be illegal if the light is bright and sufficiently visible. A guy could even carve some character lines into the outside of the clear lens to mock a stocker, and / or black out areas from behind to tweak the look. On my GTP, you would never think at a glance that the red lens is just a flat rectangle.

Anyone done something similar? Am I missing the down side? Is this an inspiration for you? Just tossing it out there. The FWD GP lamps are crap, they crack and leak, and the clear cover does not weather terribly well. But I don't think that would have to be the case wth a custom lamp constructed in that manner, and light output seems to be just fine through the clear lens.
#36
Rodder's Roundtable / good gas availability
October 21, 2017, 10:53:57 AM
The junk I drive is a 1999 Pontiac Grand Prix GTP. It has a ZZP 2.5" downpipe with no U-bend at the rear O2 sensor and a high flow cat. Aside from that and a low level (trans and fans only) tune on the computer, it's stock. It was manufactured with 93 octane in mind, and mercilessly retards the timing on anything less.

For the last fifteen years or so, 93 has been unobtainable in my area. I feed the car Shell 91 premium gas so theres no need for periodically buying injector cleaner. It works but the knock retard is a pity.

Today I find that the last nearby Shell dealer switched brands. I will have to go quite a distance to continue buying the same gas now, and the next nearest outlets are both in areas where tax is even more astronomical. We are talking half a dollar a gallon difference and I'm already buying the most expensive product because the engine is supercharged. It's the 3800 V6, an L67. Plain and plentiful cars but without good gas the fun is gone.

So talk to me, I need advice. There's a VP nearby, and a Sunoco where I treat my 455 to the occasional snort but it's several miles in a direction I never go. I also have a matching 1999 Grand Prix but it's a GT which only means no blower. Do I gotta start driving that and retire the GTP? That would be sad but I can do it. Help? Who has current scuttlebutt on gas quality? Am I yapping about something that doesn't matter? I floor it frequently!

:?:
#37
Rodder's Roundtable / 59 Catalina
July 11, 2017, 09:52:28 PM
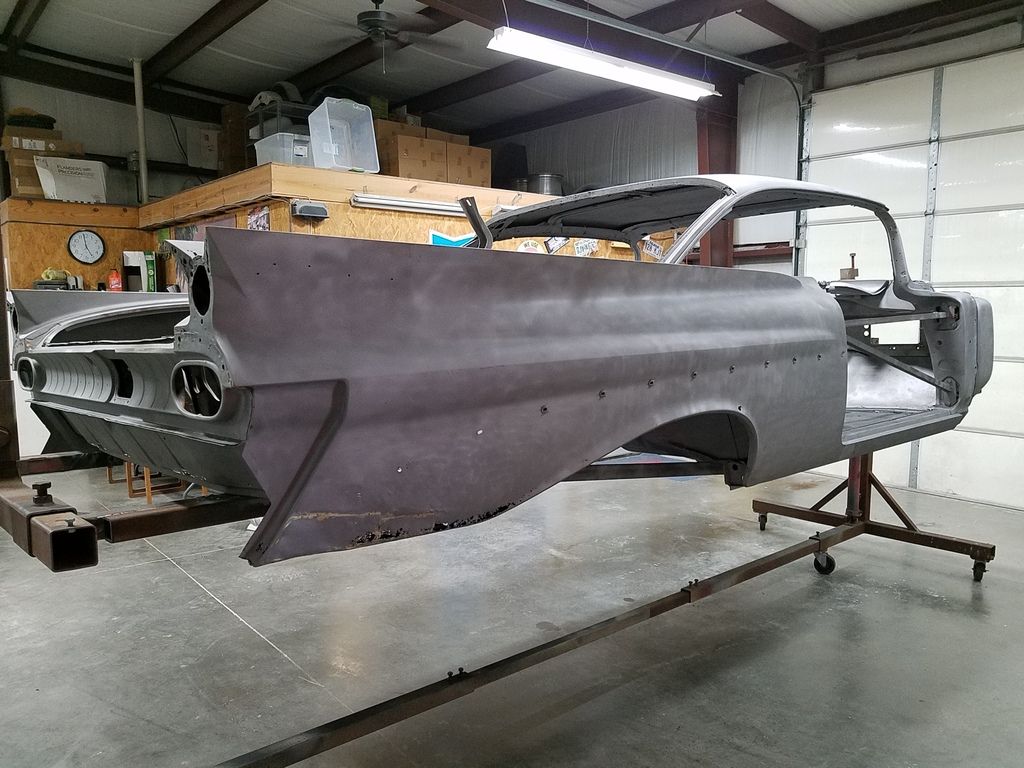
Here is another project from the shop I work at, one I know will be interesting to follow whether I get involved or not. Been mentioning it here and there but figured a thread just for it was in order because it is a show quality build to-be. Gets a new aftermarket frame and modern goodies but I believe it will be red again in the end.

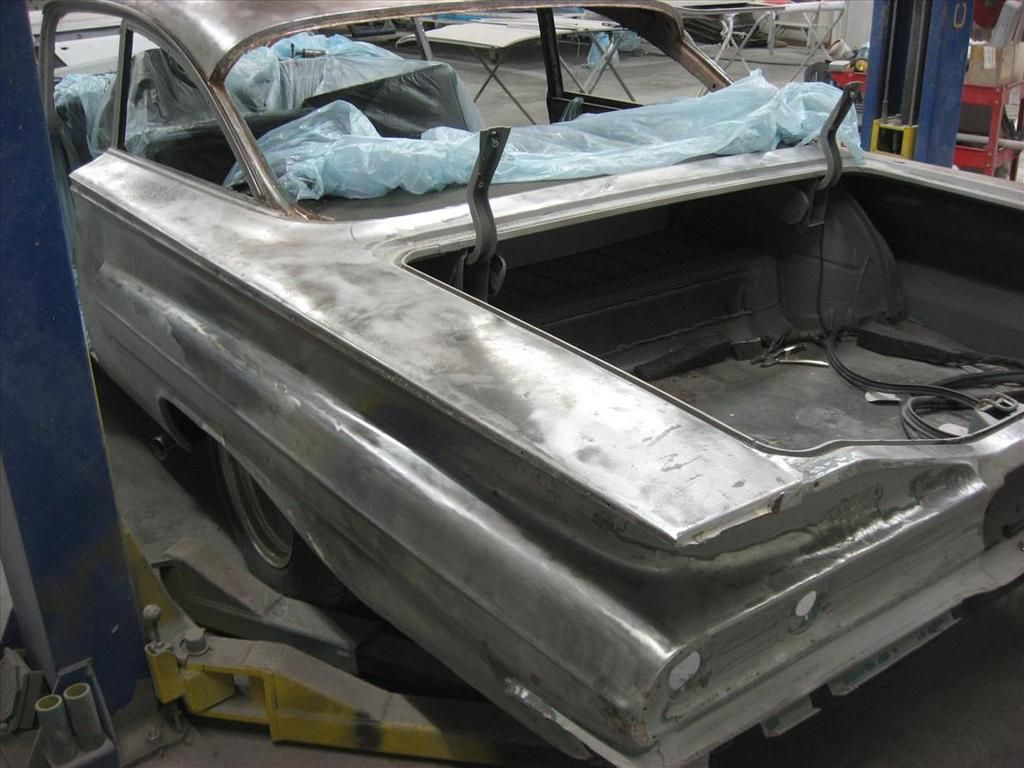
Several factors have complicated my trusty pic posting routine, and as time allows I will back-fill this story with any previous pics I can find. But it came back from being blasted today, safe and sound. So now... tick tock says the clock... its awful hot and humid out these days. SOP is to sand the exterior with 80 after blasting, maybe some cleanup scuffing elsewhere, lots of cleaning and wiping then epoxy on the metal that will stay.

Here she is, needs work. Yes I let out a barely audible groan during this quick walkaround and reminded myself its a Pontiac. I love (lots of later model) Pontiacs! Looking at it in bare steel, I see different metal than the 60 Chevy I just did, just about everywhere. But I bet those will be the parts I work with. Dunno whuts available for these but I'm getting better at making stuff. Reckon we'll see in due time. Thanx for passin'' thru!


#38
Rodder's Roundtable / 60 Biscayne
February 27, 2017, 10:00:50 PM
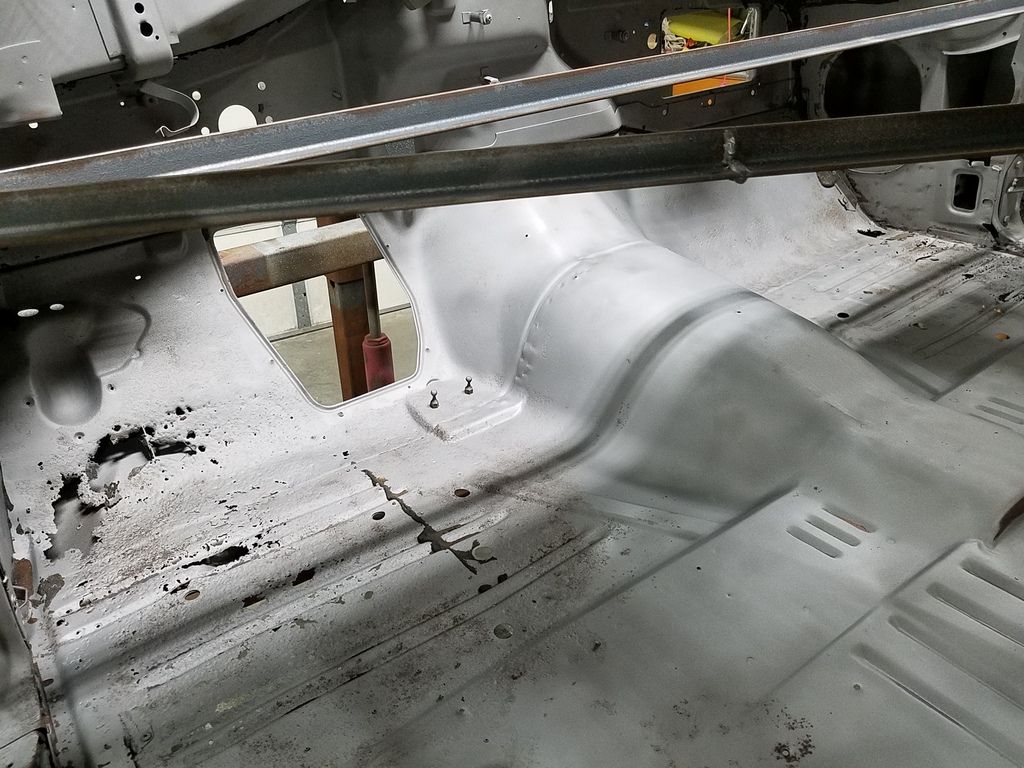
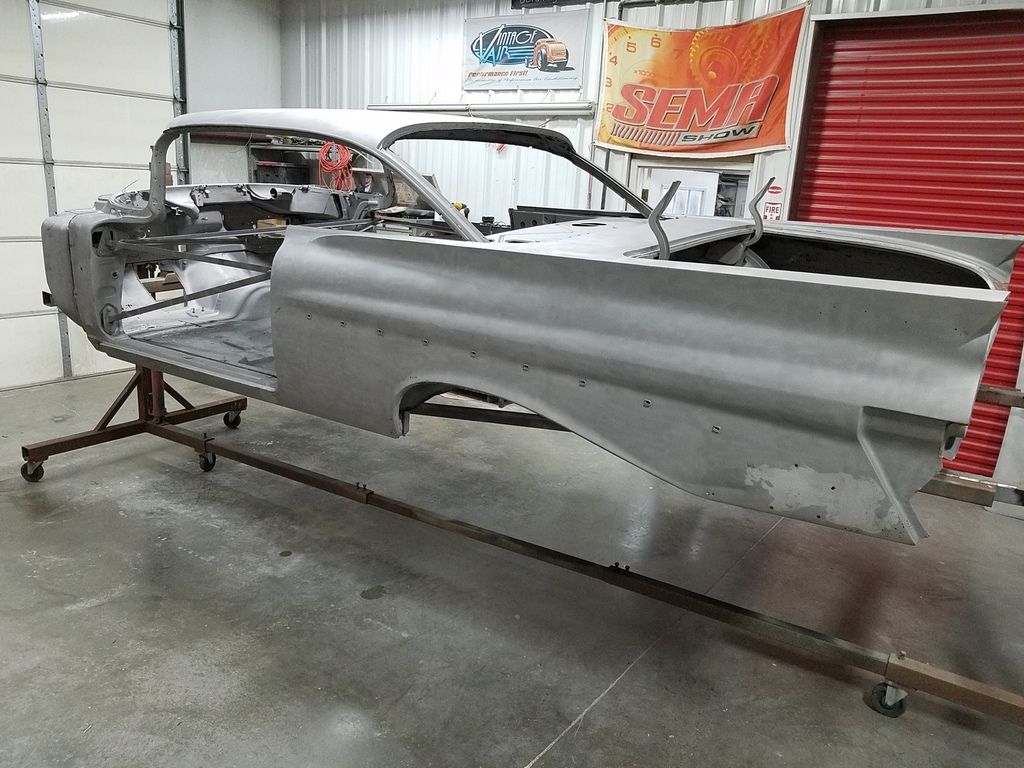
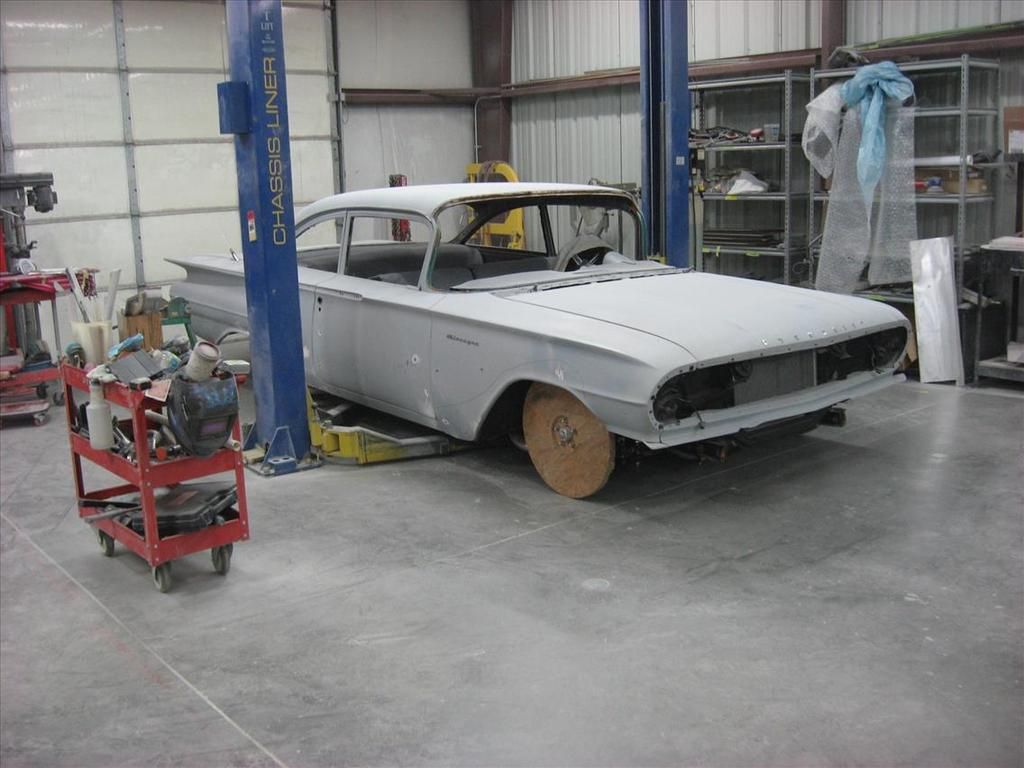
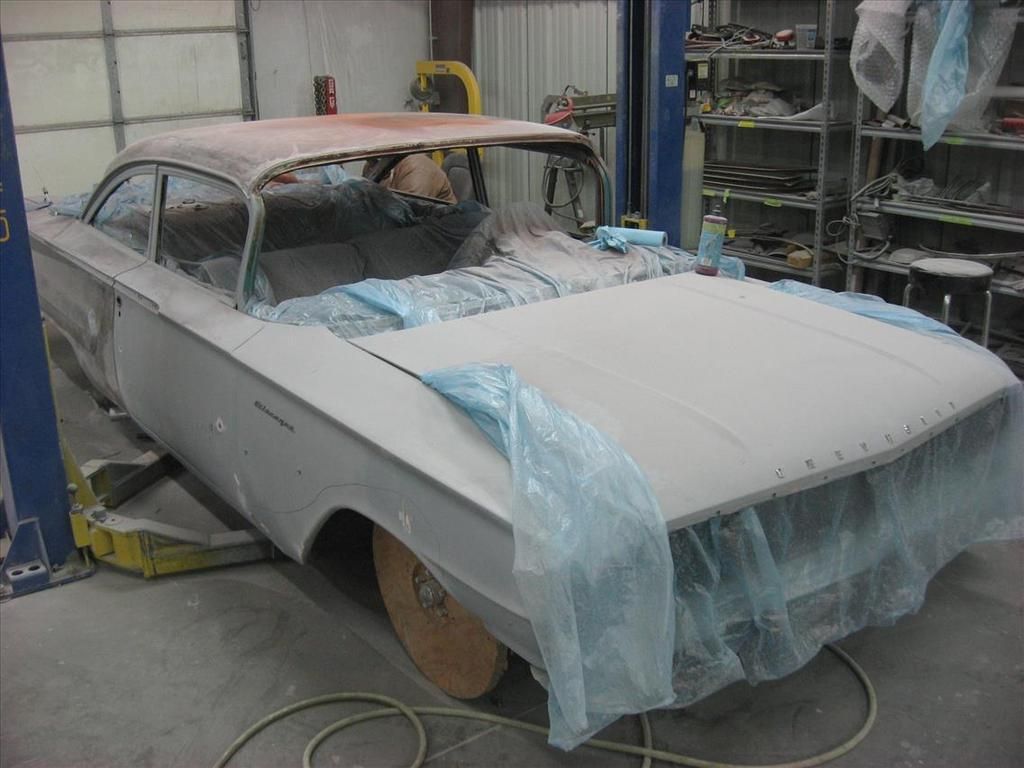
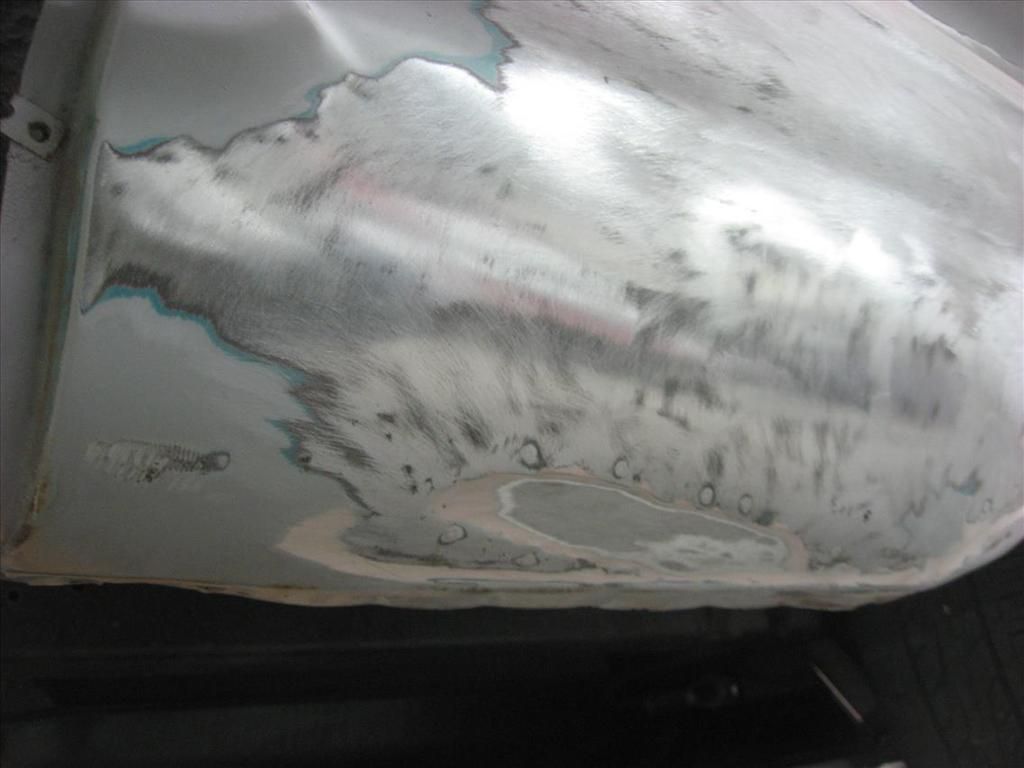
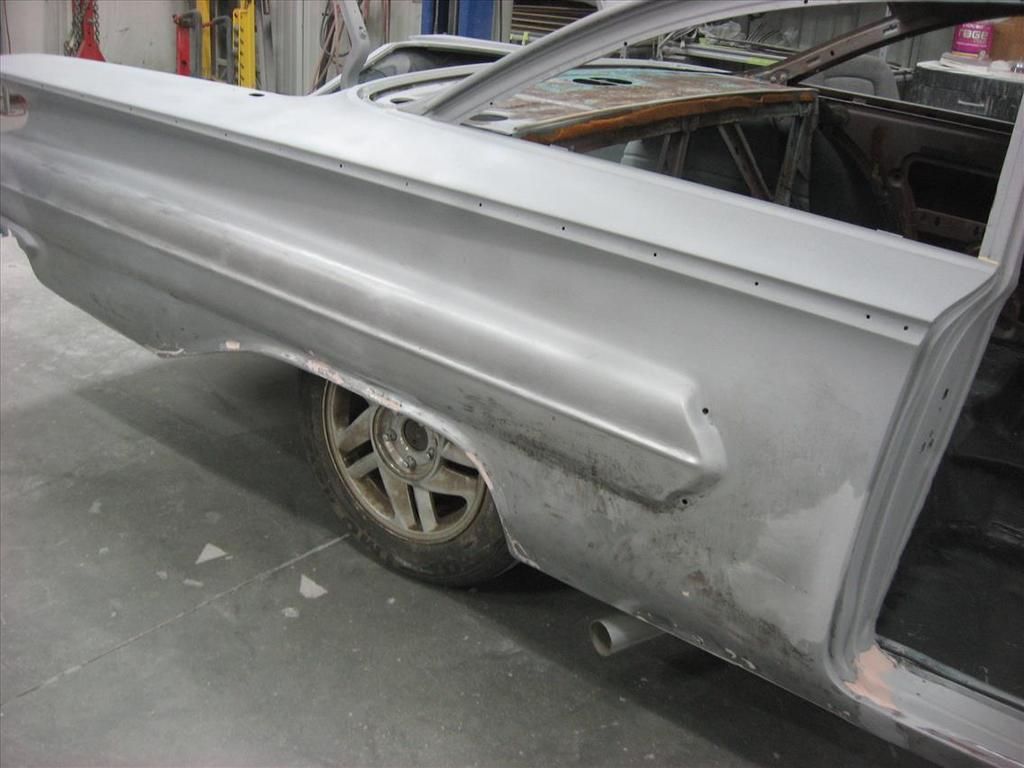
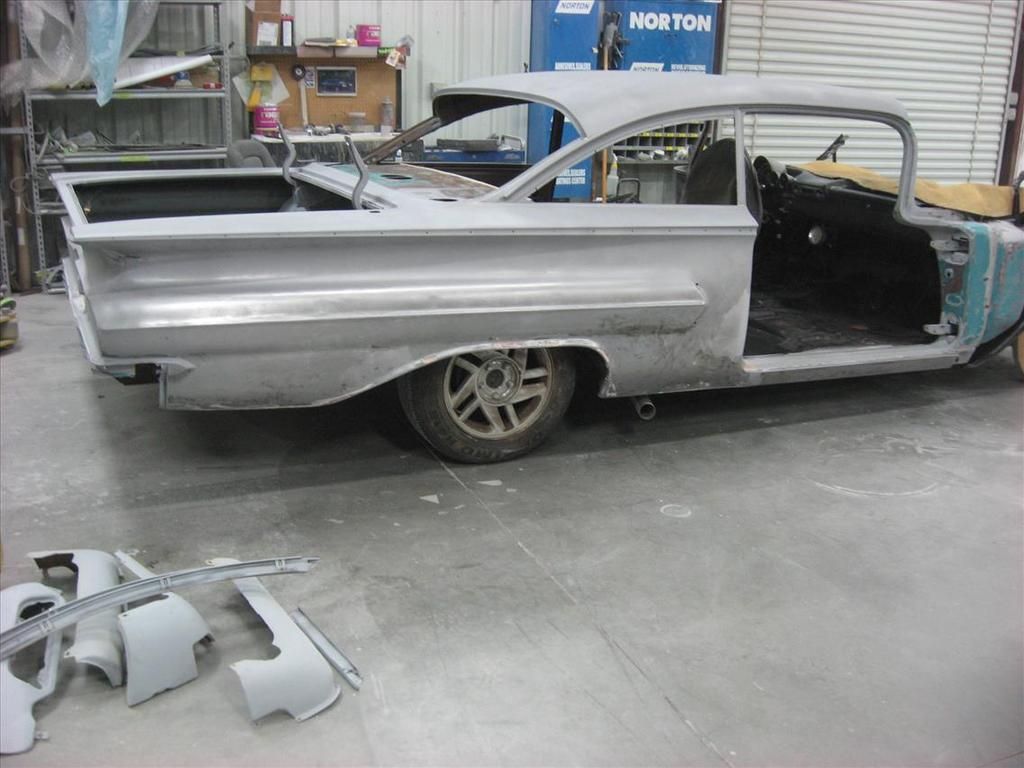
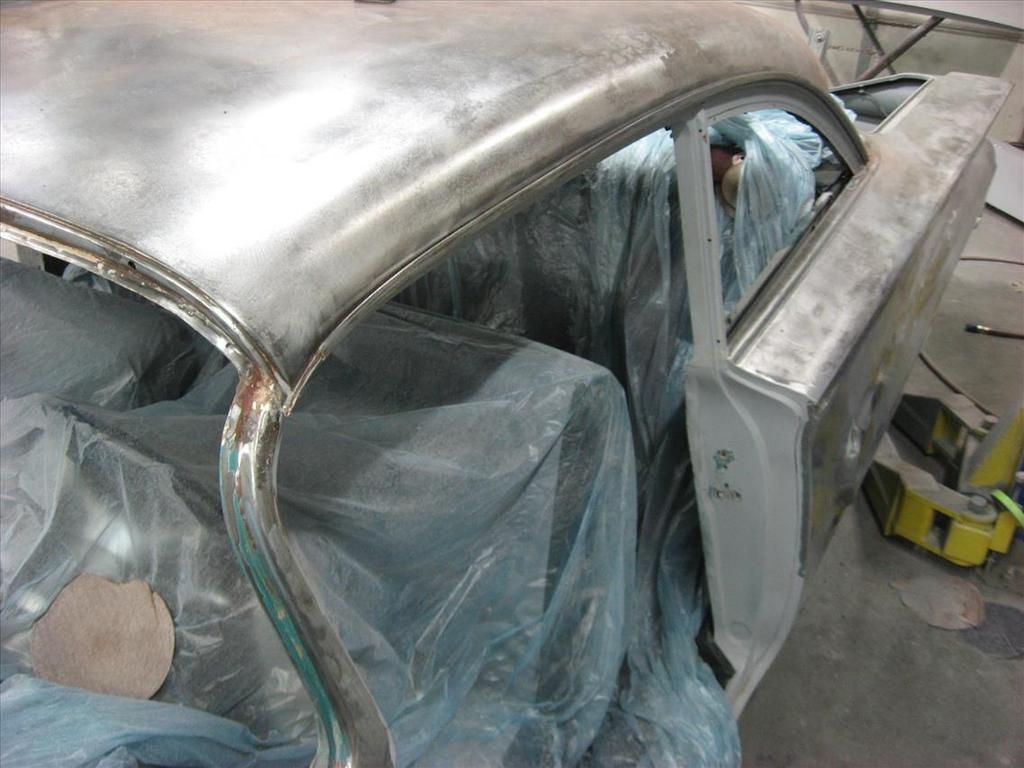
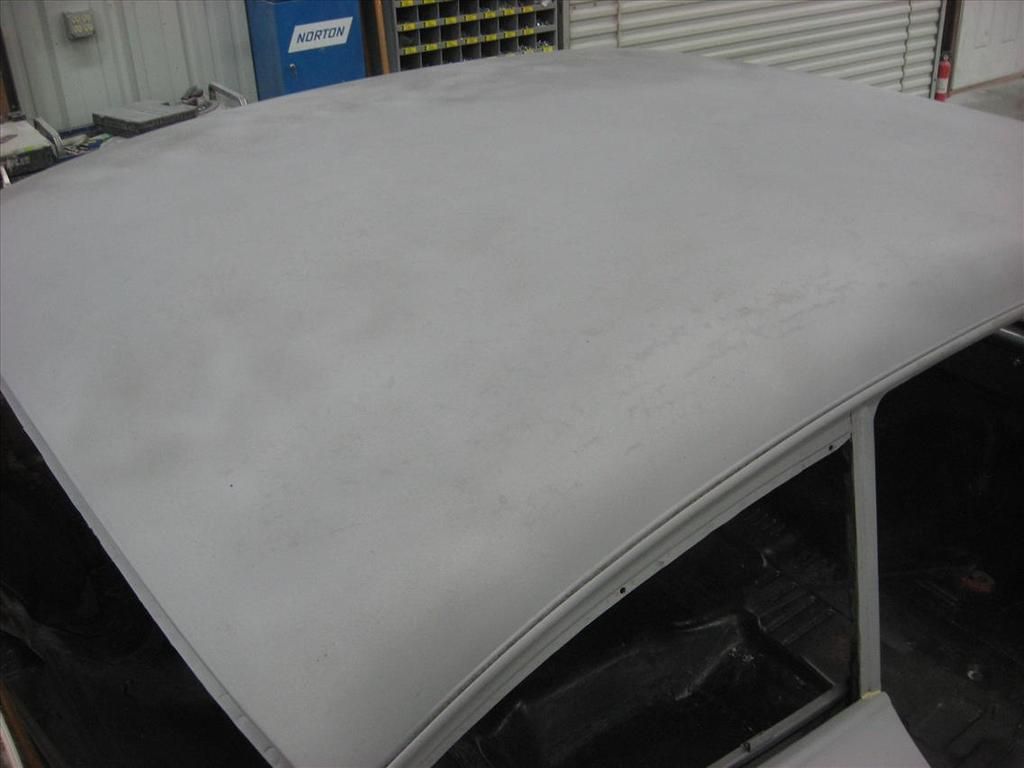
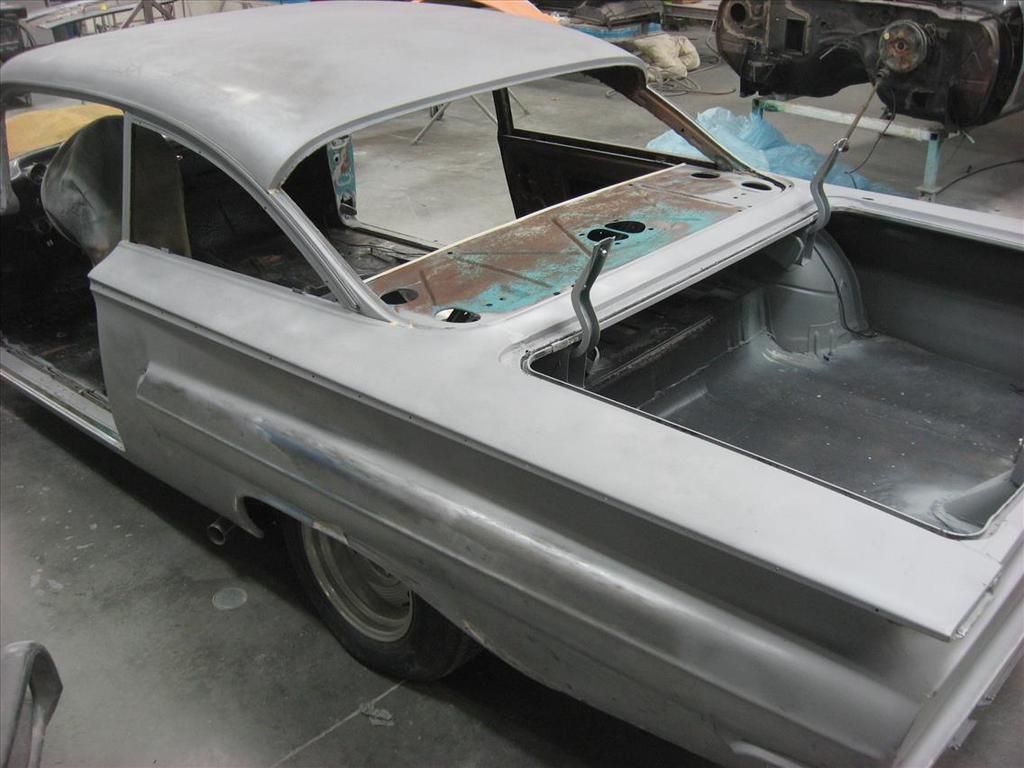
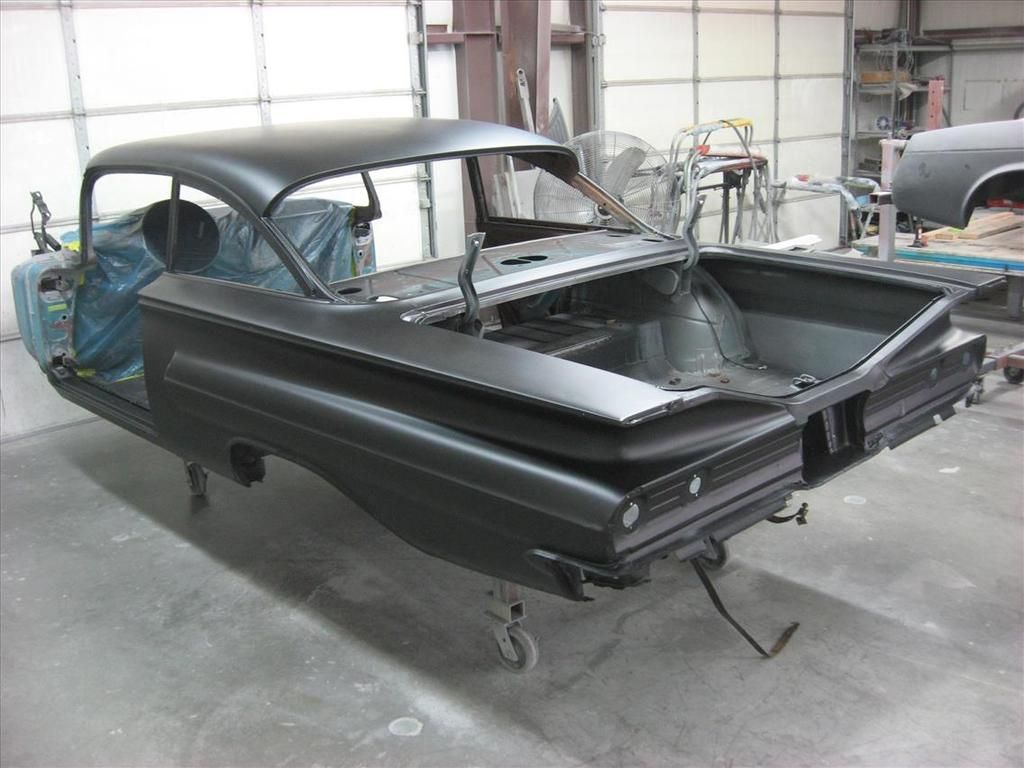
Presenting another at-work project, a 1960 Chevy. It showed up looking low, sounding mean, and in need of shine. Killer wheels not shown. It was welcomed by my co-workers with the customary wood wheel adornment. A good scrub and epoxy bath later, she came to my stall looking black naked. Thats the scene, lets see how this one turns out...


#39
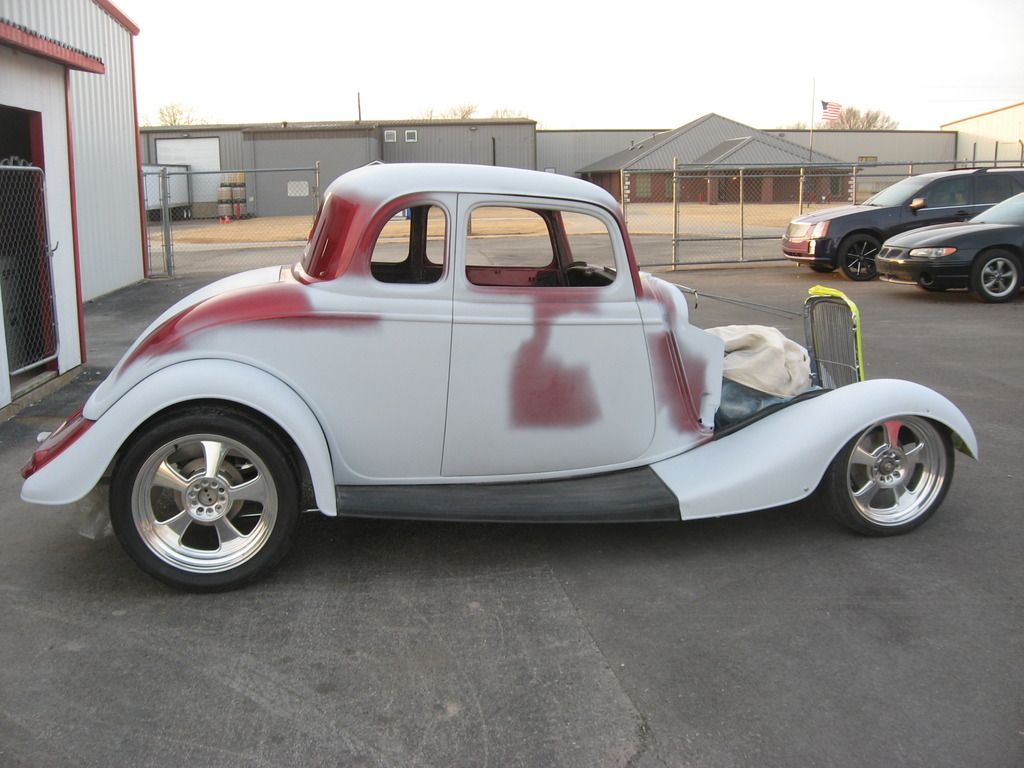
Rodder's Roundtable / 33 Ford coupe bodywork and paint
January 21, 2017, 10:25:22 PM
I have a few months worth of modifications already done to this car on other threads but with most of that out of the way, this thread can just show the rest of the story. Here is the starting place-


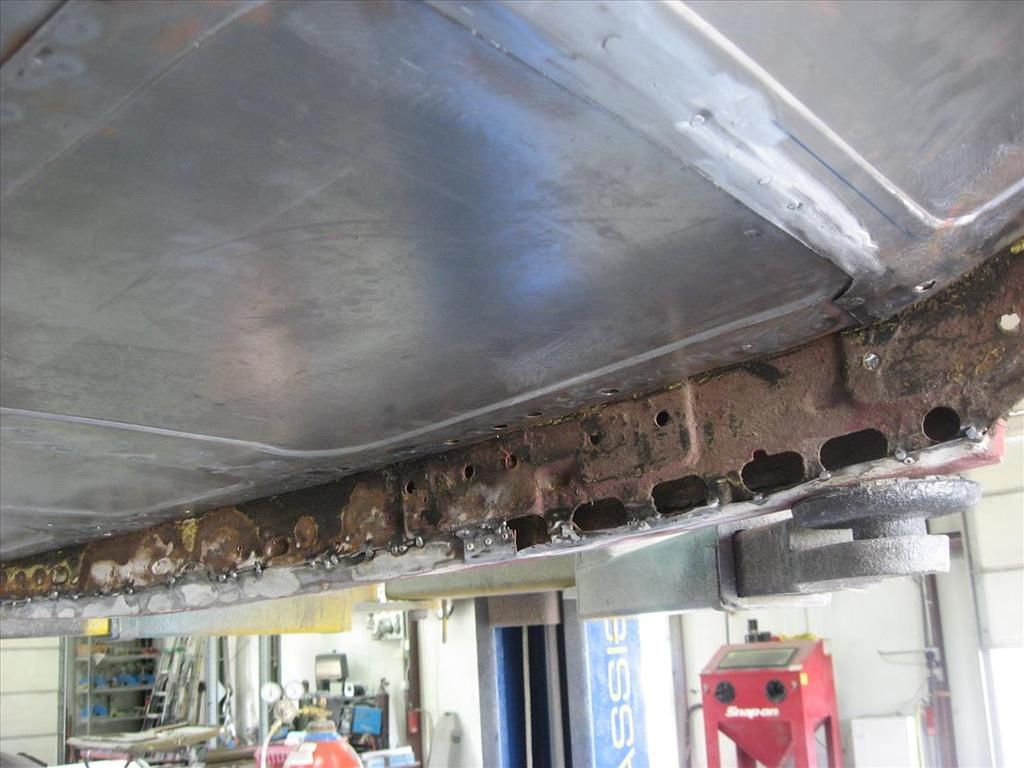
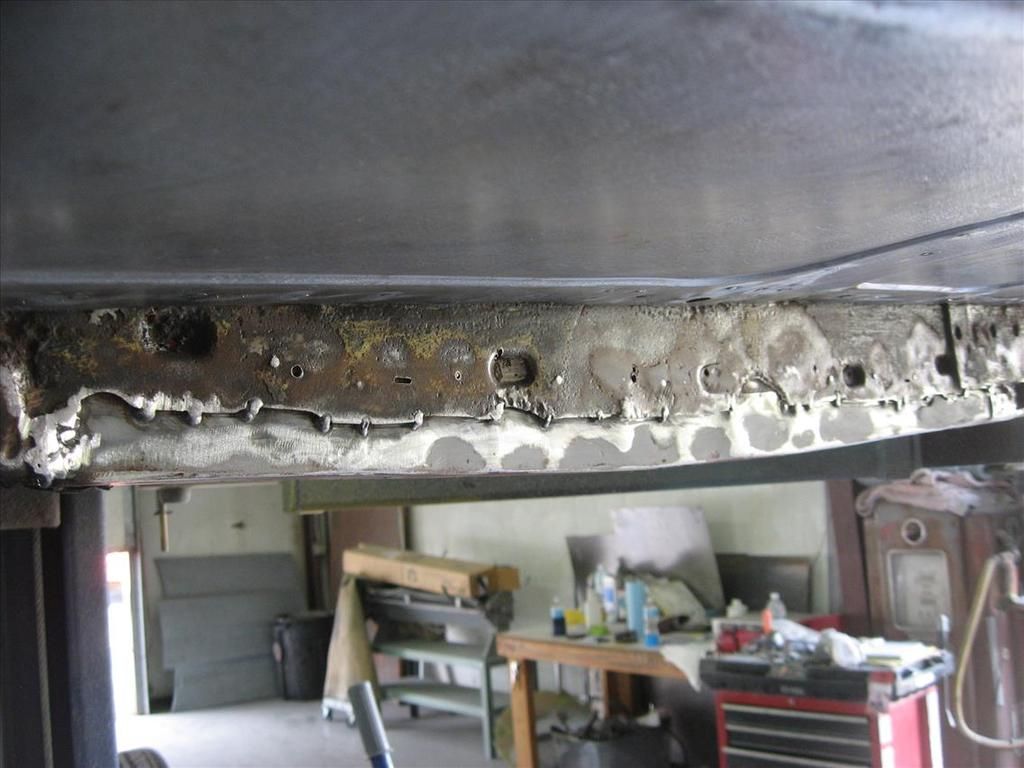
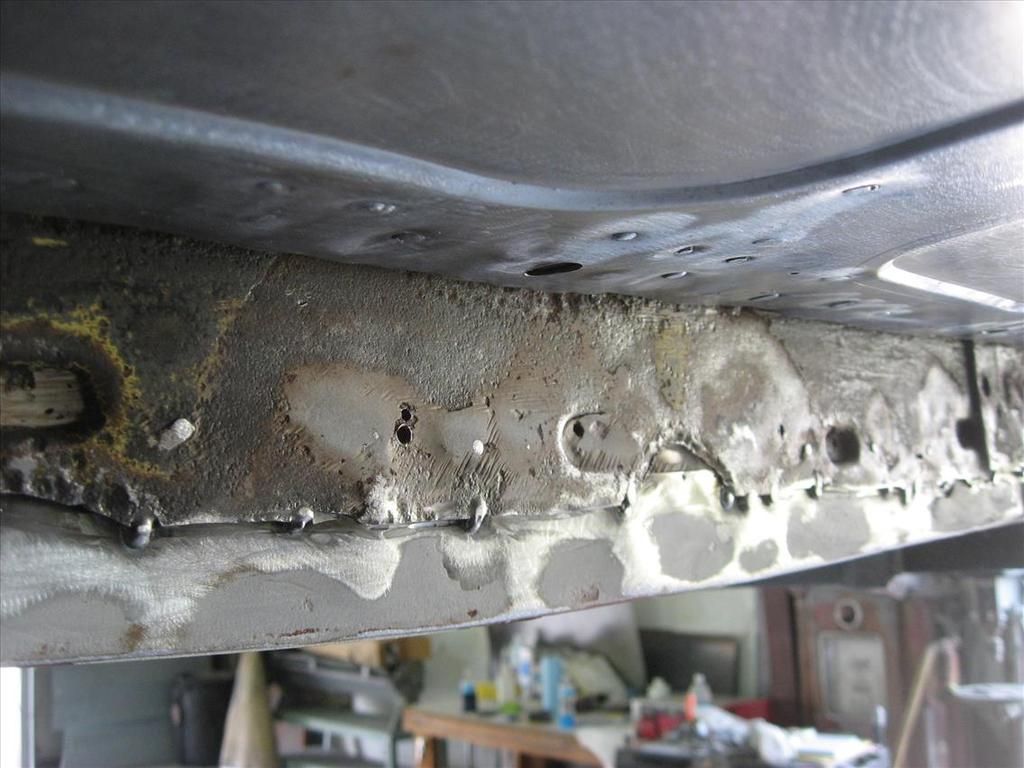
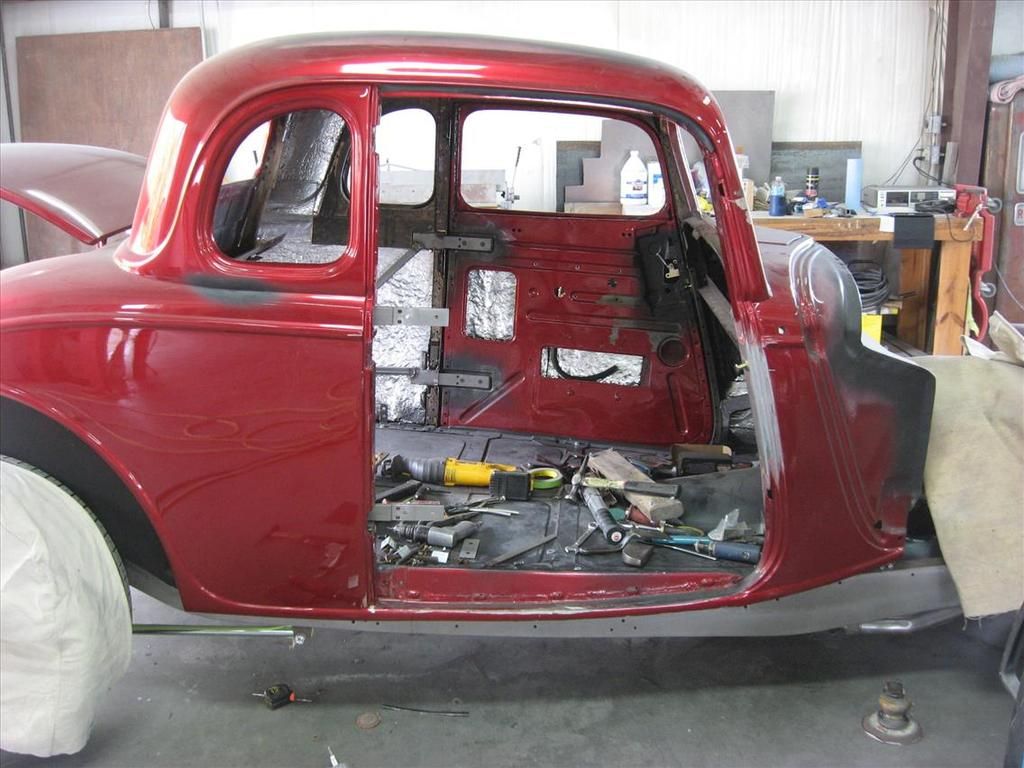
That is the first spot primer job. Body mods I did include steel roof patch, bear claw latches, hidden hinges, shaved handles, and wheel tub tuck. Fabricated inner rocker patches. Rocker replacement (modified) and short quarter patches on both sides, as well. Another man replaced the floor and I did much of that welding.

If that gets us to the current page, now I can resume regular progress reports here. :)

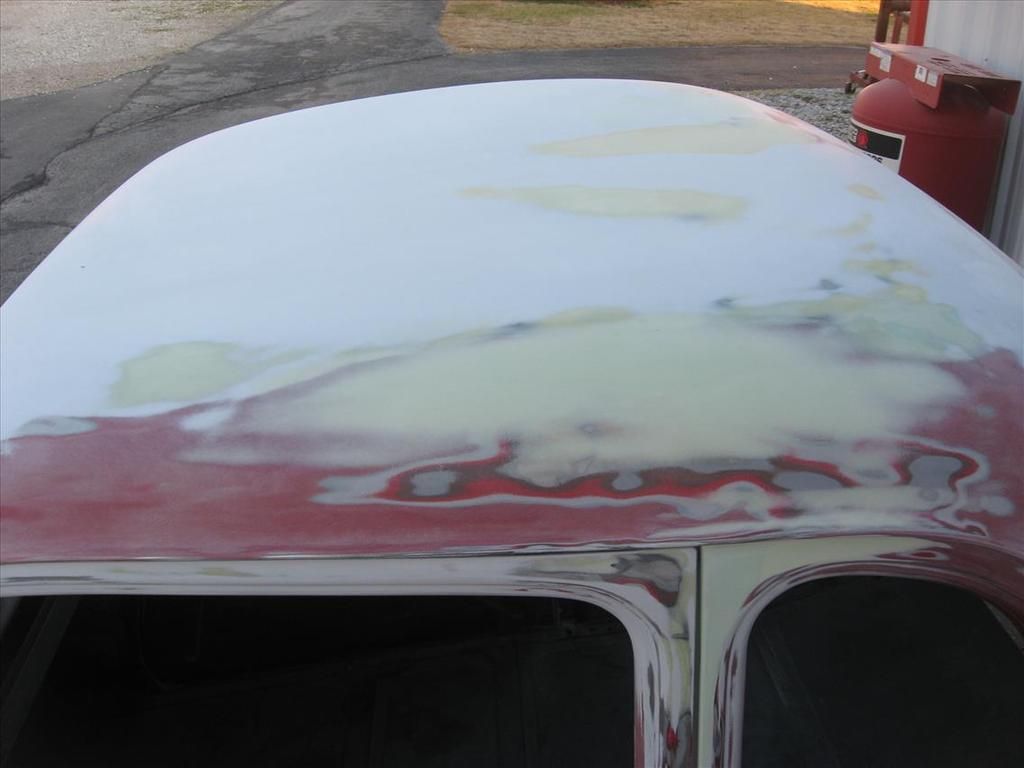
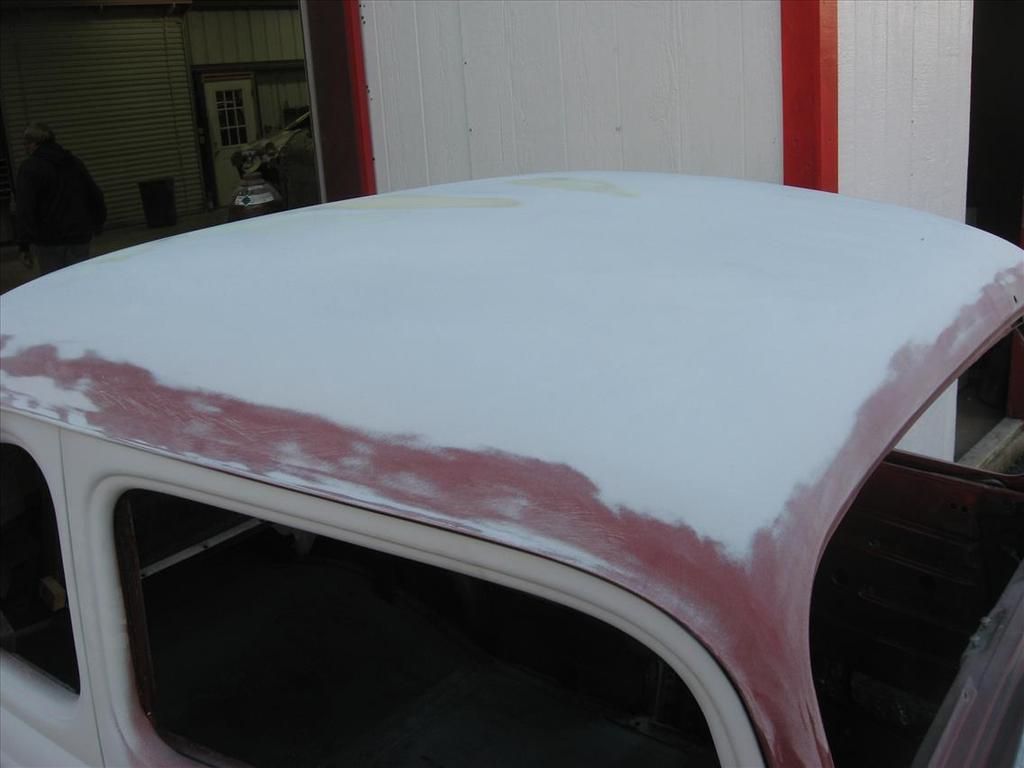
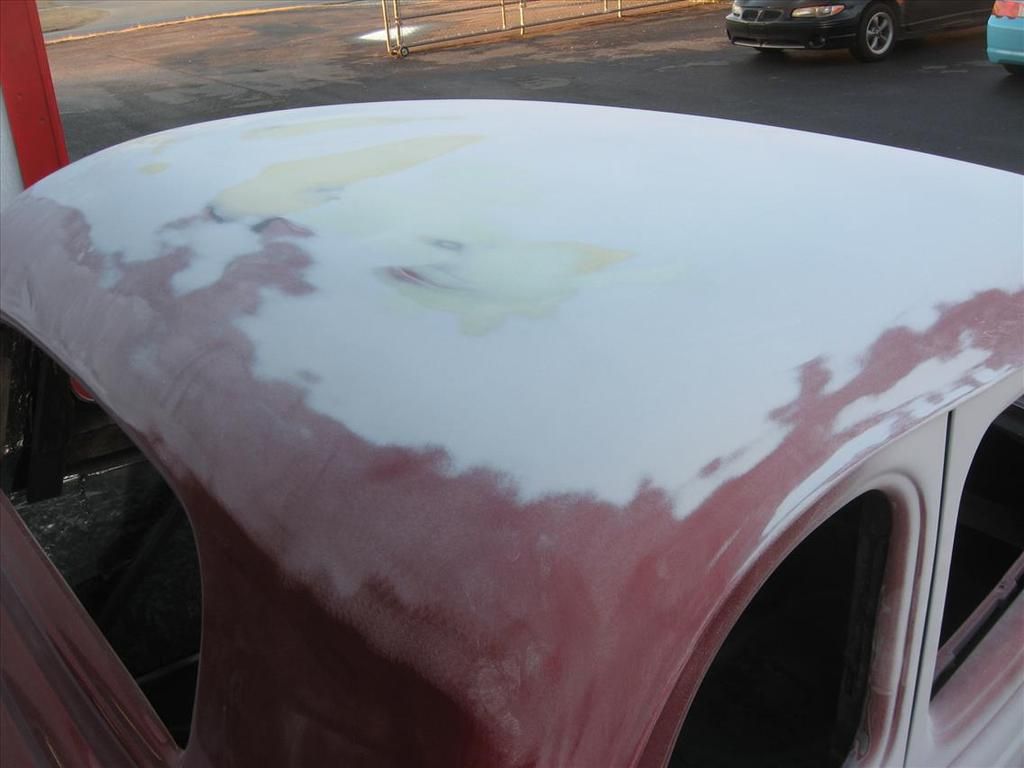
I have been and continue to be blending new work into old and finalizing panel fit. This is where I am at. Passenger side still looks like that first pic and I'll square that away next week. These show what I worked on last. Spot-primed that door again, with polyester primer after the pic, but not the body.


#40
Rodder's Roundtable / 33 Ford rocker replacement
December 04, 2016, 01:03:03 PM
This is another at-work project thread. It is not an instructional but could serve as a guide for similar projects. The car has several other body modifications so originality and stock appearance are of no concern. It is to be a show car.

I already did the driver's side but the lighting is better on this side so I will try to stick to documenting the passenger side. Unfortunately this segment of this project has been plagued by delays and distractions so the story continuity may suffer a bit.

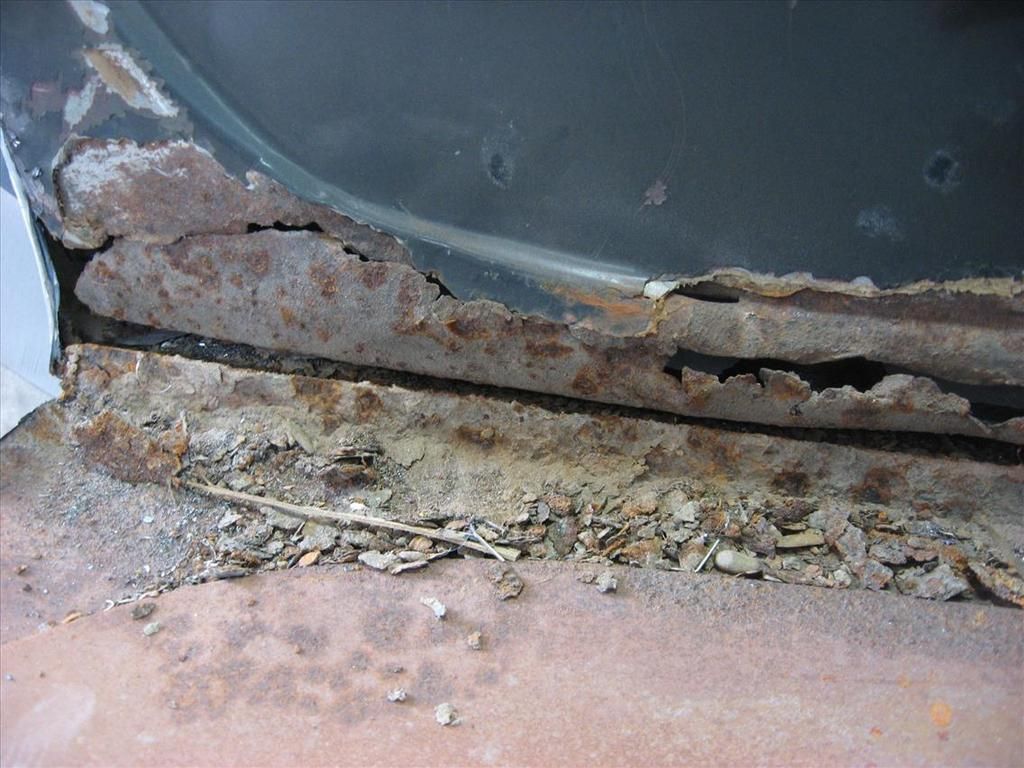
Back when I was welding in the co-worker friend-fabbed floor, the rockers did not get a fair share of attention. Patch ghosting was evident in the paint at the lower quarters so I did know I'd get to do some digging there later. This is what it looked like at the beginning-


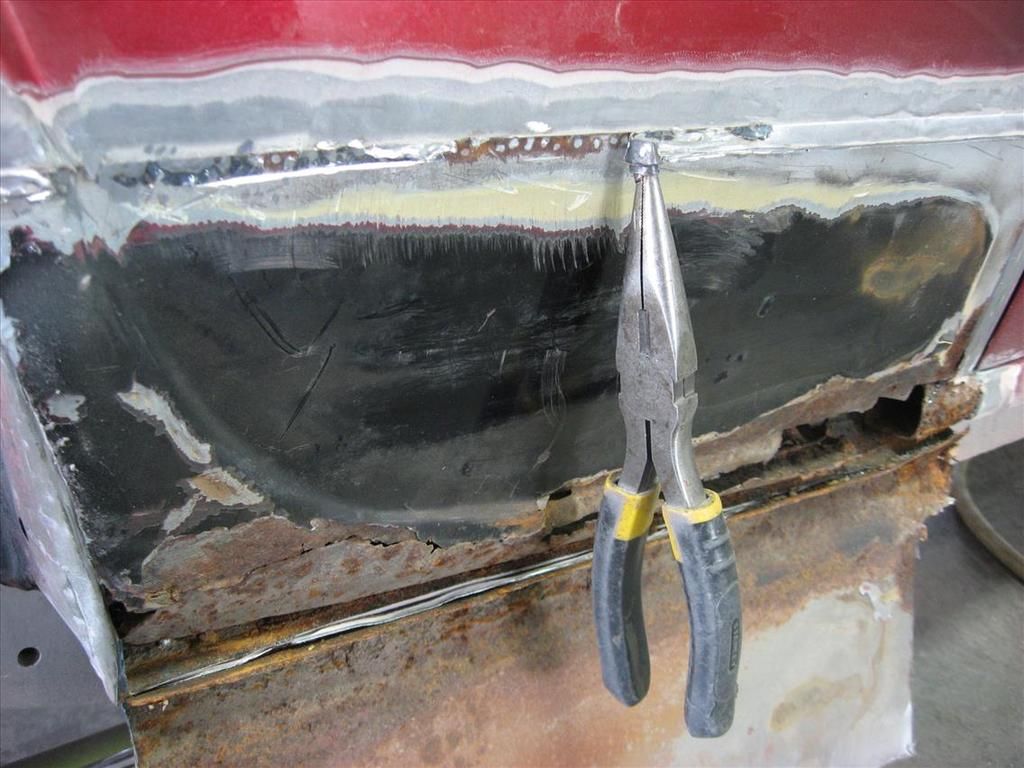
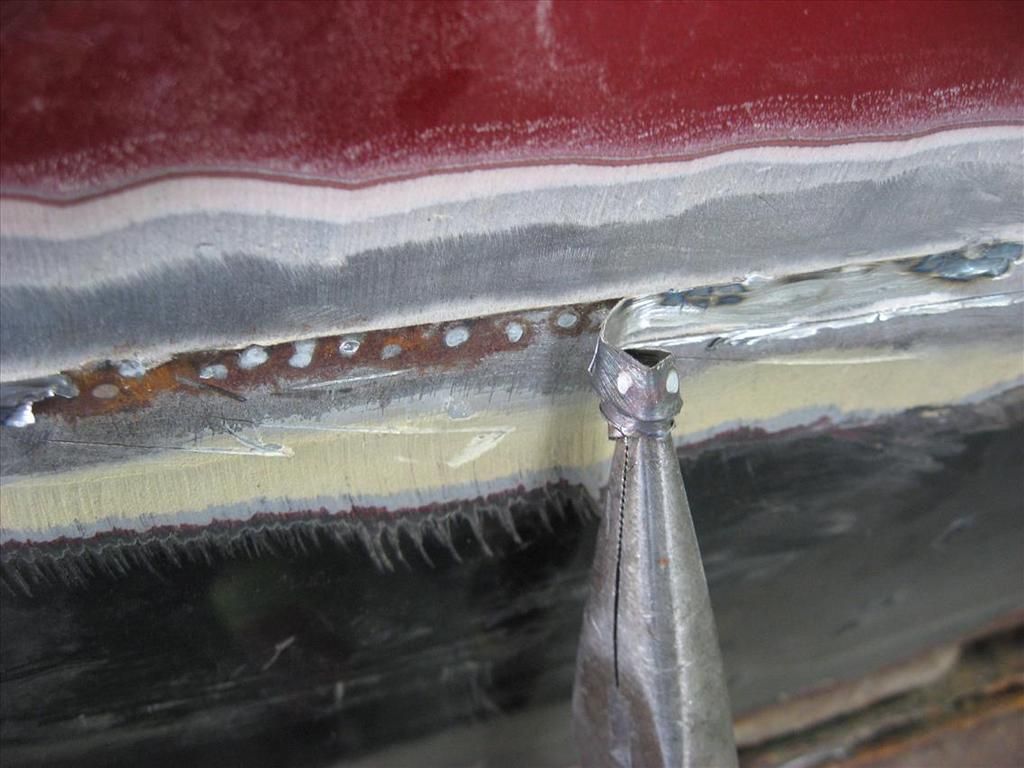
Yeah... rivets, fiberglass galore, etc. One day the customer saw this and I asked if he wanted those at least tacked. Yes, he says. So I spent about an hour doing both sides-


That was that, and I did other mods and fixes elsewhere next. Liking those results, the decision was made to put new rockers and lower quarter patches on it. Heres why-


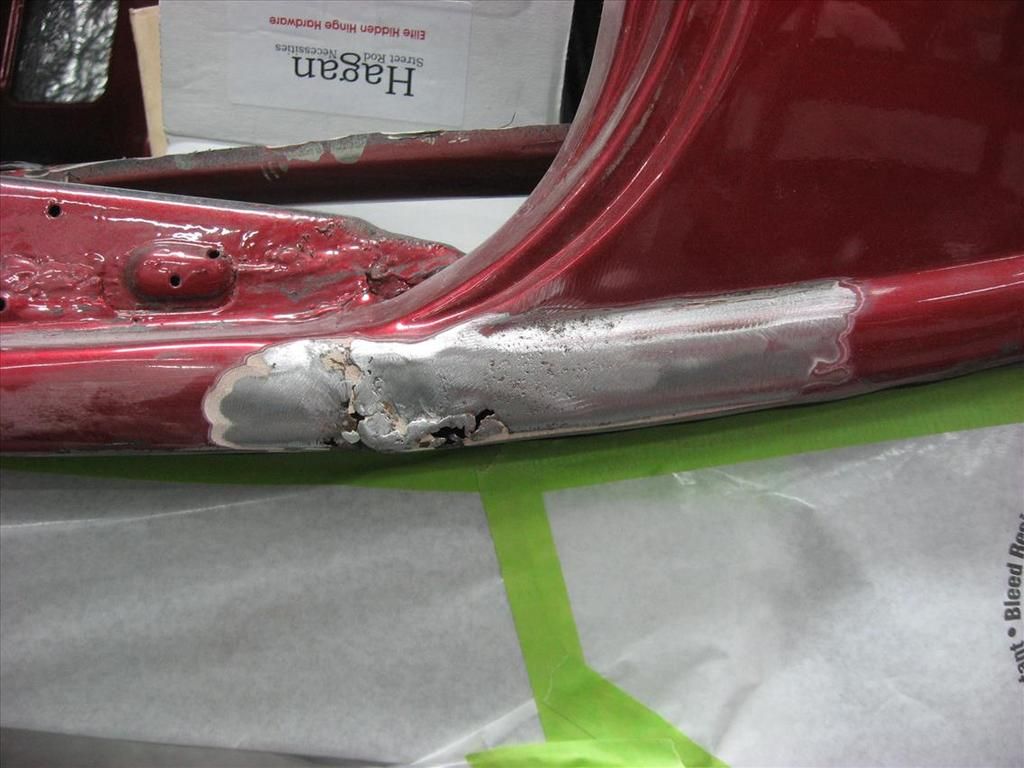
Patches over old rust, tacked in with maybe a little stud gun type spot welder. They were on there good but boy did they show through the filler and paint. So, as the story usually goes, I love to chop. Gently here at first-


Oh, the joy of archaeology. Spam can technology came into play there, didn't it? More in a moment...
#41
Rodder's Roundtable / 1969 Chevelle body repairs
November 18, 2016, 09:11:05 PM
Here begins another at-work project, a 325 HP SS396 1969 Chevelle. Bench / stick car originally, butternut color with black top.

A little history- the owner has had it since around the turn of the century and bought it as a work-in-progress. It really is a nice specimen but with corrosion hotspots here and there, and some evidence of typical use and abuse.

Before his purchase, somebody broke into it through the trunk with a pry bar, then ripped the rear seat back area brace loose from the package tray to get at the interior. Thats still ripped loose, and the tail panel has been patched with a donor section. Kinda poorly.

There was wreck damage to the left rear, also poorly repaired using a GM quarter. Everything behind it is still bent and the quarter install was not the greatest. At that time, the repair man also started patching the rear window area but progress stopped midstream.

It appears to have had multiple shifter hump episodes and has ugly welds there. The right quarter's wheel opening flange has been rolled for tire clearance somewhere along the way, and both outer wheelhouses have quick nasty patches down at the trunk drop areas. Oh and theres the nasty rear window bed, presumably rusted out due to vinyl top.

So, on to the pictures from day one-


#42
Hey. Guys I deleted pictures off a bunch of useful project info threads of mine, and was curious if anyone was interested in lending a hand with putting them back. I'm perpetually short on time, it seems. Welcome to being 50+, huh?  :lol:

Anyhow, if you have a particular interest in a thread such as my 68 or 69 Camaro work projects (or any other pics that are now kitty faces  :roll: ), heres how you may be able to expedite the picture restoration project.

What you'd do is-

Speak up here and say you've adopted your chosen thread or part of a thread.

Mouse over each picture (hold cursor over pic) and (at least on my Windows PC using Firefox browser), a bar appears at bottom left of your browser window showing the web address of the deleted image. List those for me in order and this becomes a cakewalk.

All I need is the part of the address that is the file name, such as IMG_0972. Just say 0972 for example (first pic on 69 Camaro thread). If you list those and post the numbers you are my hero. But they gotta be in the order they were posted.

Otherwise it will take longer. Talk amongst yourselves if you wish to prioritize the threads to restore and if you want to adopt only a group of page numbers. I'll do my end as time allows, and theoretically I can fix the pictures or at least provide a link to the new gallery and keep them in the right order.

Post the lists here.

Any questions? Thanks in advance for any time you can use to help with this. Feel free to do same and request any other specific missing pictures.

Much obliged. 8)

Matt  :D
#43
Hey guys I thought you might want to peek at this. Probably been done a zillion times but I have not looked around to see. Not sure if it will be sufficiently effective but we had tires rubbing wheelwells sitting still so something had to happen. The decision to go this route came in the midst of rust fixes but I'll keep this thread to just on the "tub-ettes" mod.

Questions / comments / ideas are welcome!


More pics coming right up!
#44
I started on another part of this at-work old Ford project today. Began with the driver's door latch and got it closing nicely. I'll post pics as I go along if you guys want to see. I've done bear claws on a truck before but never hidden hinges. It looks to be a potentially satisfying challenge. The door gaps are fairly nice as-is so this should and I repeat should... be a cakewalk. If I watch my step. It only bit me once so far.


#45
Rodder's Roundtable / Fabric roof shave- 33 Ford coupe
August 26, 2016, 08:29:33 PM
Howdy Gents  :D  Got a rodder-type project to share!  :shock: Imagine that  :roll:

I inherited this task after our guy made a firewall and put floors in. My mission: Fill roof. Alright then, lets see-

Car-


Mike also chose a great salvage panel, the roof from the yellow 68 Camaro, to fill the hole left by Ford before deep-draw stampings were feasible-


Thats a pretty good eyeball for contours, I'd say.  :shock:  Lays down nicely and that panel would be tough enough to shape nicely if fabricating. Camaro roof crown for the win.

I centered the patch over the hole, taped it down, and trimmed it while scoring / cutting the roof.


I know  :roll:  most folks would have left the gutter in it. Not this guy. I went with my gut and chopped with reckless abandon!  :D

This is me excavating a half dozen layers of various lacquer products-


Oh, and then oh. The backside  :roll:

Cleaned up and rust converter-ed with Picklex-


Laid into the hole and tacked for an open butt weld-


Wow, what a good grab that Camaro roof section was! Peek at the inside too-


You know what comes next... dots ahoy! In assorted lengths? Is it really morse code? Stay tuned...
#46
Rodder's Roundtable / ooga horn
June 04, 2016, 12:02:02 PM
I have this Ford car horn (it says '32 on the tag) and was told "the diaphragm is busted". The sentimental value is high and I'd like to make it work. Web research does not look promising.

Is it an ornament now, or is there a fix? I can't find squat for parts and have little pre-war Ford knowledge.  

Thanks!

#47
Rodder's Roundtable / 1969 Camaro bodywork
May 01, 2016, 12:04:34 PM
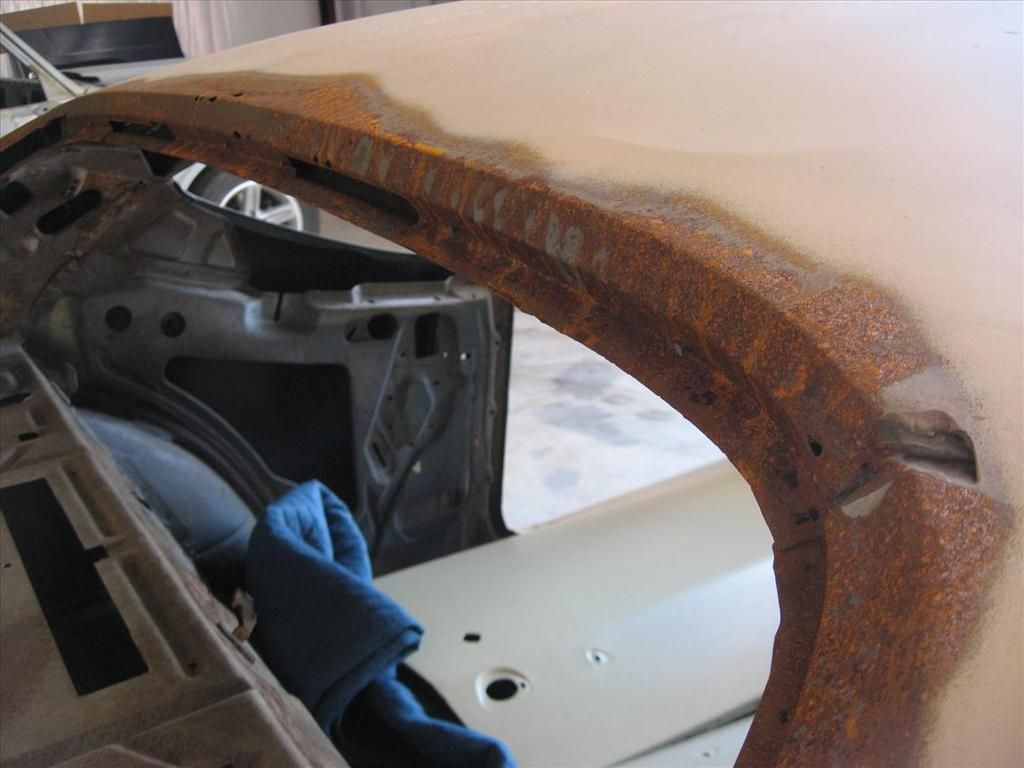
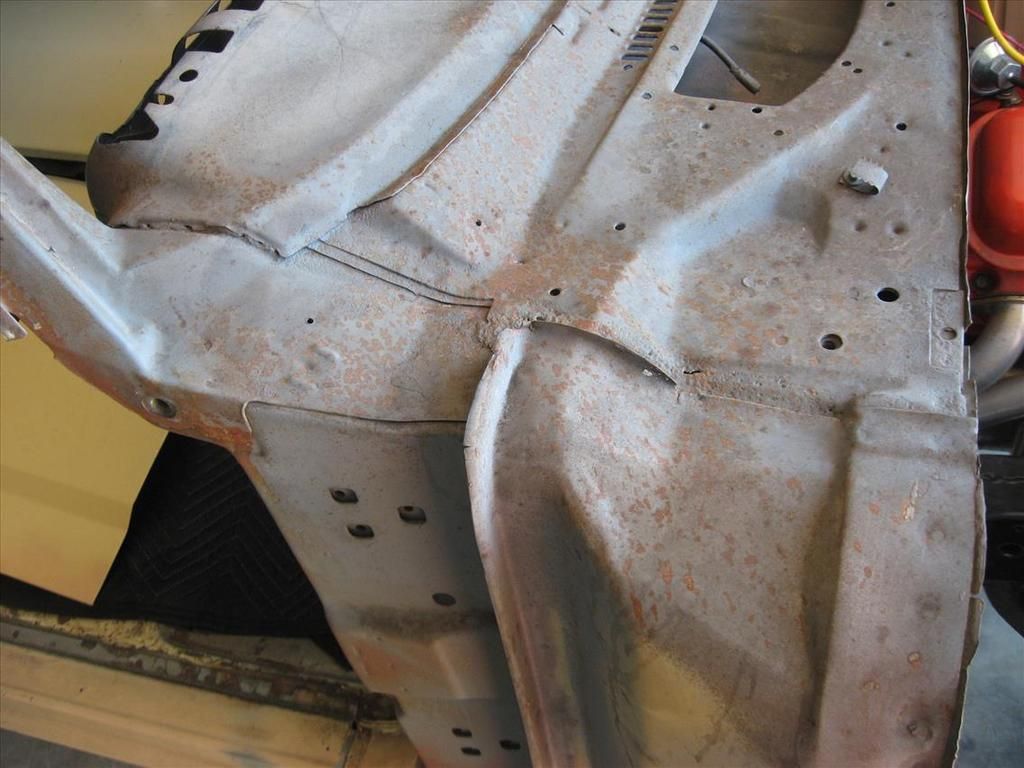
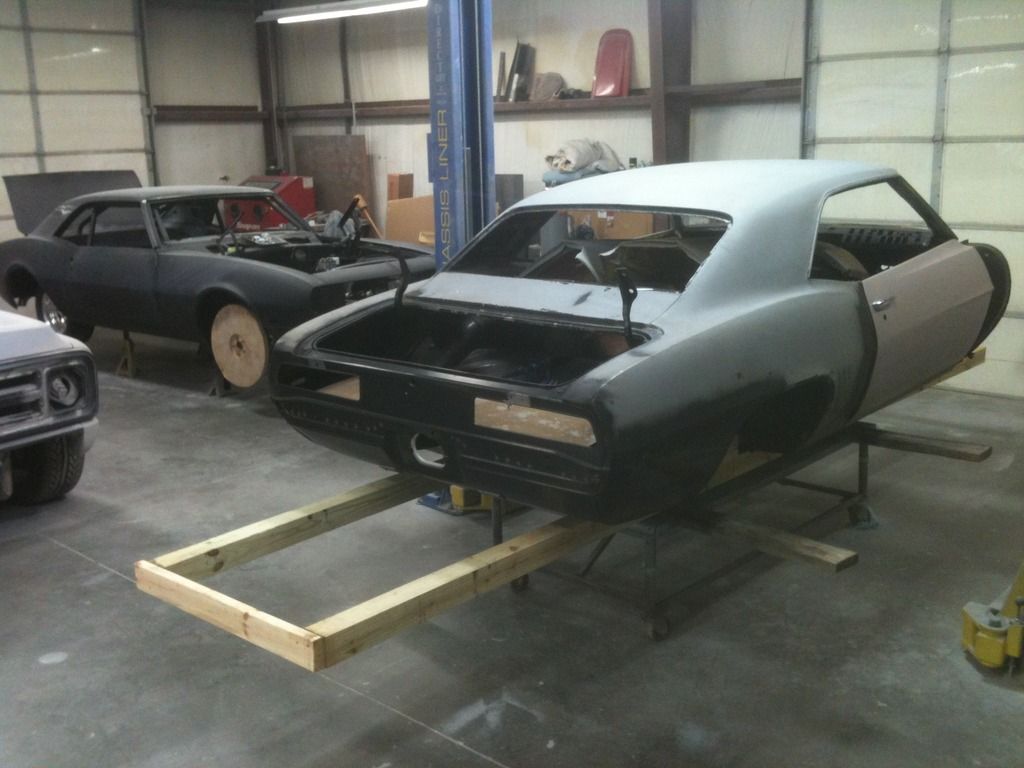
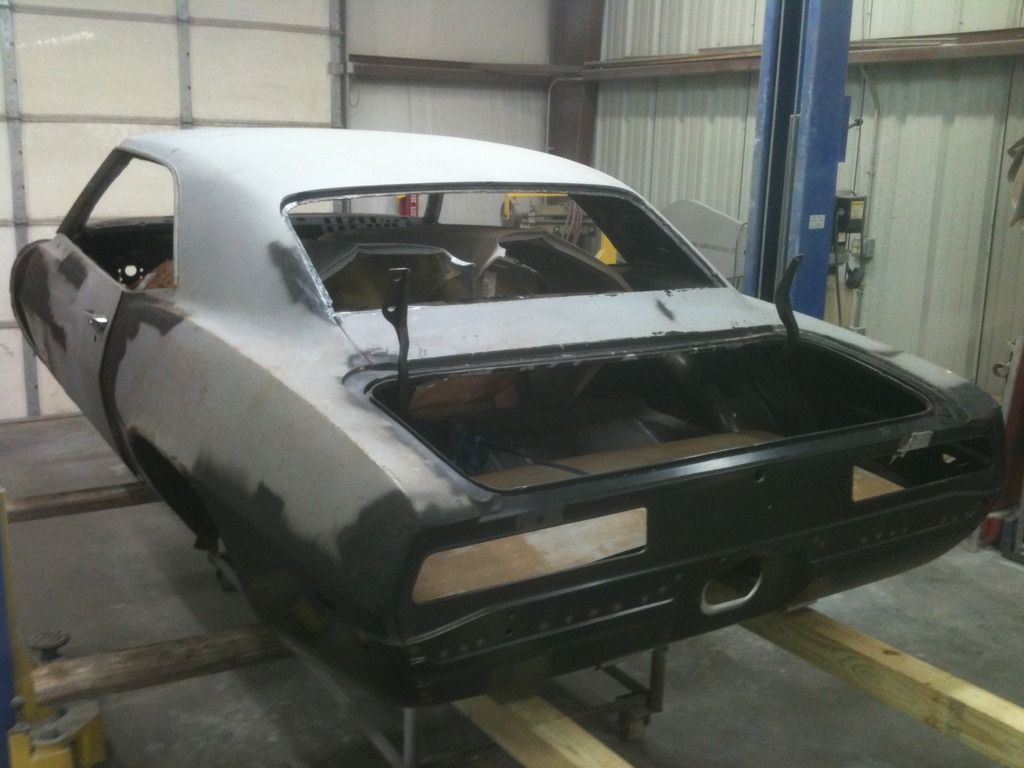
So as I was working on a 68 Camaro job a few weeks ago... another first gen arrived for the same kind of work. Mostly fixing work previously done improperly by others. In this case, the owner had done some decent work already, and some not so decent. In either case, "make it right" is the goal.

So let the mayhem begin.

Our story begins humbly. At first sight, my reflex comment was: "Awright, Camaro on a stick!", and heres why-


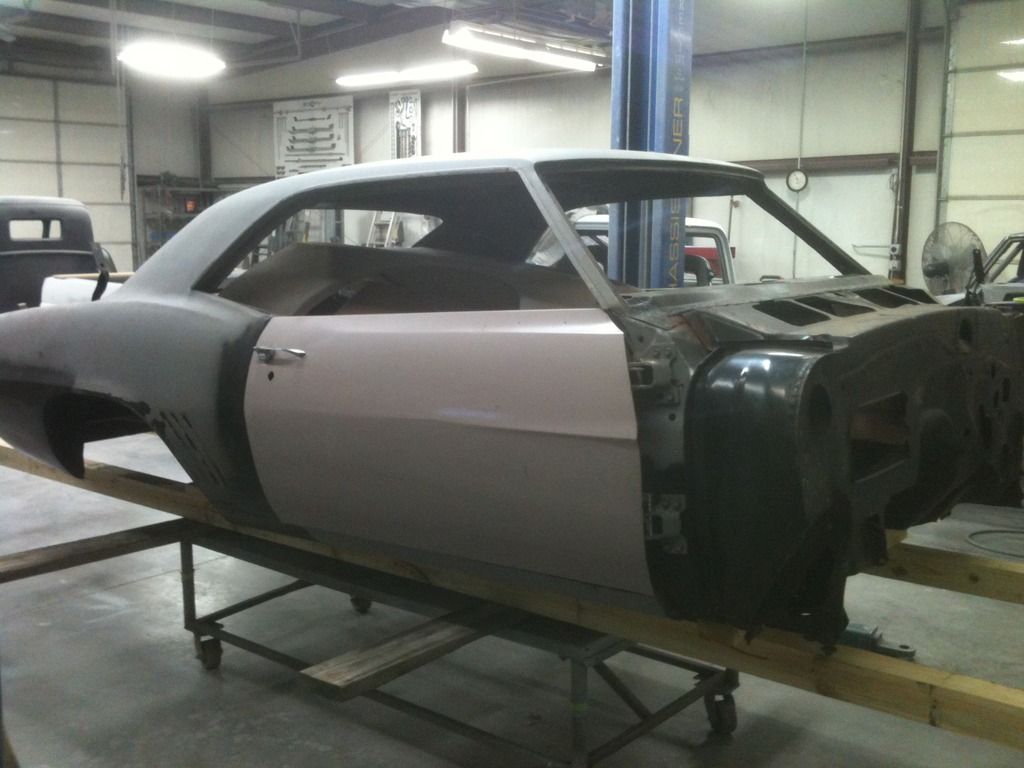
As you can see, it is jammed full of parts. But thats a sho-nuf '69 Chevy pony car. The owner has already replaced the roof, patched quarters, replaced tail panel, rear window filler and shelf panels, all floors / cowl / firewall, and added mini-tubs. I don't know if the body has ever been fitted to a subframe or front end sheetmetal since metal work began.

Once tasked with the job... first I unloaded the parts inside it and inspected them. Show you those later. I just wanted them out so I could make a quantifiable assessment of the major issue I found upon initial visual inspection. Now I needed to measure it thoroughly.

Before touching anything, I had taken pics and made a laundry list of issues that I could see, and made a few triage-type "X" measurements underneath. I determined then that the floor and tail panel, and suspension and frame mounting areas' dimensions were all in order. Like the 68, this car is also square and level on it's foundation. Whew!

But having spent a decade in collision repair previously, there was something screaming at me from across the room. A glaring problem that would raise the eyebrows of most body guys I know. So I improvised...


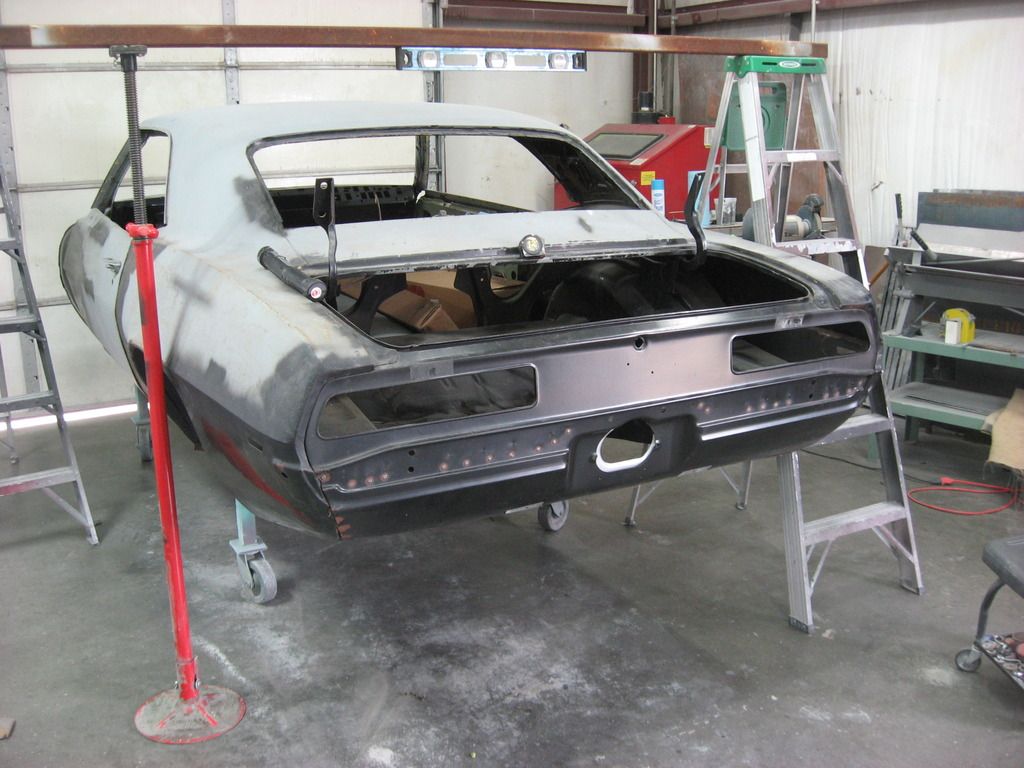
Yes, thats a ladder, 2" square thick walled tubing, a ladder, transmission jack, a magnetic level, and a tape measure. An IDJ upper body measuring fixture, if you will. To insure accuracy, the dolly and car were assured to be level as the first step. Then several key points on the body were established as being sufficiently consistent side-to-side, and level.

But what I was seeing was a problem with the rear window filler panel area. My trouble was I needed a way to measure the upper body and find out if the roof was skewed or what. So I concocted the jig seen above. This particular spot on the slab is amazingly flat, but before you bodymen start screaming... thats not my datum plane, its the dolly.

We have done a bunch of these cars and this dolly is the perfect width (4') to just set the rockers' pinch-welded seams right on the beams. It sits level just like that, no shims or fuss, at least in this spot on the floor. The accuracy is satisfactory for the task at hand. But yes, if you lean on the tail panel, you'll lift the front so when work begins, the tail section needs support.

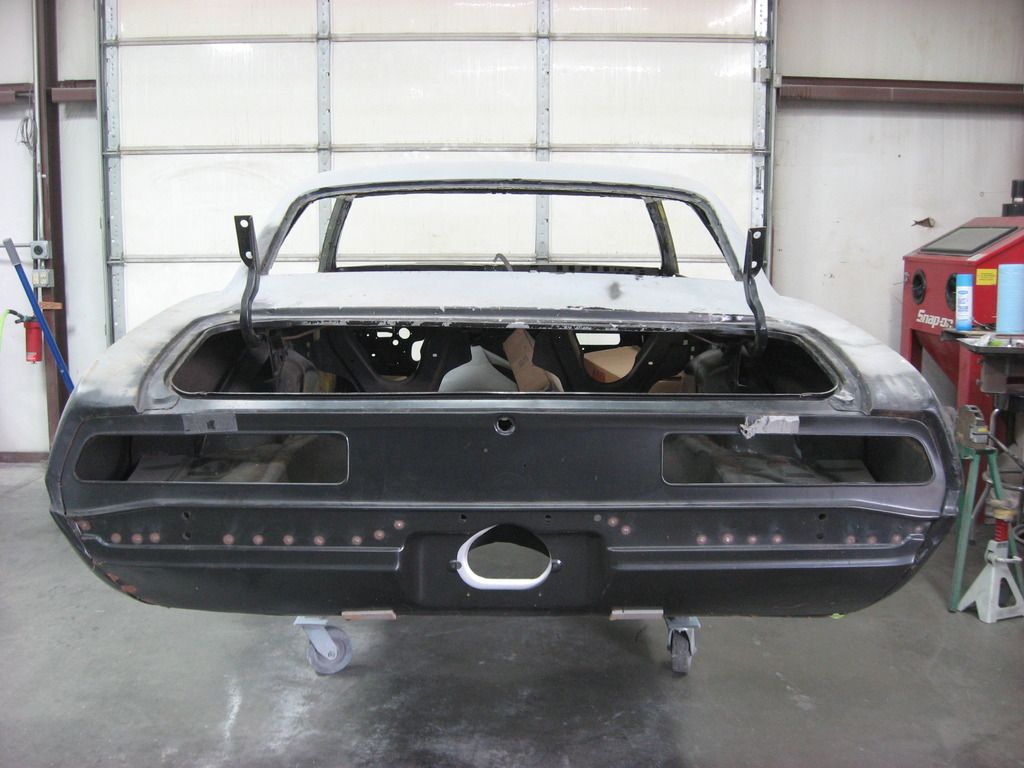
Heres the drama shot, see what I mean?


Get a load of that height difference of the trunk hinges! Oh boy...
#48
I have heard from multiple sources that flapper discs are great for this but have never had one in my hand. What have you tried and how did you like it?


This is how I do it when I'm working on exterior panel faces. All thats needed is a die grinder with a Roloc pad and stripping disc mandrel (can be made from a 1/4" bolt), and a DA or palm sander, as far as tools. The ones I use are all like $20 HF versions.

Here are the two key abrasives that maybe the other guy doesn't know about-


Here is a scribbling describing my techniques:


I can dig up some examples of welds I have finished and add those later but I'm not currently doing much of this on my project yet. I often do cars that are for show. Just wanted to see if I could get the conversation started. Feel free to ask about things I left out, or if I can provide more clarity.
#49
Rodder's Roundtable / 68 Camaro bodywork
March 11, 2016, 03:52:38 PM
Howdy.

This poor old car came into my work stall yesterday for an estimated 14 weeks of bodywork. Then paint. Our hero bought almost all new steel, and had the car tubbed, caged, four-linked, and fuel-celled. The quarter panel installations left a lot to be desired, but in all fairness are unfinished. The customer is once bitten, twice shy but I aim to do him proud so his vision can become reality.

The new panels don't line up and theres not a decent gap in sight. Somebody put a real top shelf botch job on the quarters. Never fear, this is kinda my specialty and I enjoy getting nice results. Its my first big Camaro job though.

I'll just give you a glance in this tip-of-the-iceberg post, and starting Monday I'll be on it full time. Think of this as the pilot episode of a new TV series, lol. Theres still a Mustang for me to put together but other than that, its this. Get out your snafu counters, here we go...


#50
Rodder's Roundtable / Bat-Fuzz
October 31, 2015, 02:57:26 PM
Its October 31st... boo. Among the themed articles around the web today, I stumbled across "bat fuzz".

Apparently four Batmobiles were "flocked" after the show ended, to mask body flaws like cracks. Repainted later.

The stuff is whats probably on the console liner or glovebox of your daily driver.


It just got me curious and thinking of ideas. Wonder what that stuff looks like with clear over it.

Any of you guys ever mess with it?

Must have been murder doing a whole car, you spray on glue then chopped nylon fibers. I checked out flockit.com and wondered if there were any interesting traditional rodding applications where it was used.